It was 4 a.m. when my phone rang. One of my drivers had pulled over. His load had shifted.
He wasn’t hurt—but part of the shipment was. Bent steel pipes. Delayed delivery. And a fine waiting at the next weigh station.
That’s when it hit me. Even people with experience can get flatbed loading wrong. All it takes is a small step missed. A quick shortcut. One loose strap.
If you’re reading this, you want a straight answer: How should you transport a load on a flatbed trailer?
This article will show you the right steps. No fluff. No guesswork. Just what you need to keep your load safe.
By the end, you’ll know how to transport a load on a flatbed the right way.
Let’s dive in!
Quick Guide
Here’s a quick guide table summarizing your 9-step process for transporting a load on a flatbed trailer, designed for easy reference.
| Step | What to Do | Why It Matters |
| Step #1 Assess the Type and Weight | Identify what you’re hauling, how heavy it is, and how it behaves. | Shapes your trailer choice, tie-downs, and route plan. |
| Step #2 Choose the Right Trailer | Match the load to a trailer type—standard, step deck, or double drop. | Avoid clearance issues, legal trouble, and hard-to-load situations. |
| Step #3 Inspect and Prepare the Trailer | Walk the deck, check tires, lights, and anchor points. Clean the surface. | Prevents breakdowns, fines, and loading delays. |
| Step #4 Load the Cargo Evenly | Place heavy items center-low, balance side-to-side, and leave tie-down space. | Keeps the trailer stable and prevents load shifting. |
| Step #5 Secure the Load with Proper Equipment | Use rated straps, chains, corner protectors, and working anchor points. | Holds the load in place safely through every mile. |
| Step #6 Perform a Walk-Around Inspection | Double-check all tie-downs, anchor points, and trailer condition. | Final visual check to catch anything missed. |
| Step #7 Do Pre-Trip Checks and Paperwork | Review your BOL, permits, route, and pre-trip log. | Keeps your haul legal and on schedule. |
| Step #8 Monitor the Load in Transit | Stop at 50 miles, then every 3 hours. Check straps, listen, and observe. | Catches shifts early and avoids roadside emergencies. |
| Step #9 Unload with Safety Protocols | Park on level ground, use chocks, release straps slowly, unload in order. | Prevents injury, tipping, and unloading accidents. |
Now let’s explore the steps in more detail!
Step#1 Assess the Type and Weight of the Load
This is where everything starts. Before you even think about loading, you’ve got to know what you’re working with. The type and weight of the load will guide every decision you make from here on.
So take this step seriously. You’re not just looking at cargo—you’re planning how it moves, how it sits, and how it reacts once the truck is rolling.
Start by Identifying What You’re Hauling
- Check If the Items Are Fragile: Delicate cargo like glass panels or machinery needs protection. Use padding, foam, or crates.
- Measure Odd Shapes or Sizes: Uneven or oversized items won’t sit flat. Plan for special strapping or extra anchor points.
- Test for Shifting Risk: Push gently on barrels or boxes. If they roll or slide, you’ll need chocks, blocks, or extra tie-downs.
- Inspect for Sharp Edges: Sharp corners can cut through your straps. Use edge guards or covers to avoid damage.
Weigh the Load Properly
- Use a Certified Scale or Verified Specs: Ask your supplier for weight details or head to a weigh station. Guessing is risky.
- Check the Trailer’s Load Rating: Every trailer has a limit—usually printed on the ID plate. Stay under that limit to avoid fines or equipment damage.
- Distribute Weight Across Axles: Place the heavier items in the middle. Don’t overload one section of the trailer.
- Keep the Heaviest Pieces Low: This lowers your center of gravity and keeps your load stable while driving.
I’ve learned—sometimes the hard way—that getting this first step right saves you from a lot of stress later on. It’s one of those things you’ll be thankful you took the time to do before the wheels start turning.

Step#2 Choose the Right Flatbed Trailer Type
Once you understand your load—what it weighs, how it behaves, and how it needs to be handled—it’s time to pick the right trailer for it.
Years ago, I loaded a tall skid steer onto a standard flatbed. We didn’t double-check the height. Got flagged two hours in for clearance issues. That day taught me—not every flatbed works for every job.
Your trailer needs to fit your cargo. Not the other way around.
Know the Main Flatbed Types
- Standard Flatbed: Great for general freight like lumber, pallets, and steel. No sides or roof—just open space.
- Step Deck (Drop Deck): Has two levels. Ideal for taller equipment that would go over height limits on a regular flatbed.
- Double Drop Trailer: The middle section sits lower than the rest. Used for hauling extra-tall loads like tanks or machines.
- Extendable Flatbed: Has a sliding deck. Works well for long items like beams or pipes that don’t fit regular lengths.
At Rhinotrail, we offer different types of flatbed trailers built for real work—whether you’re hauling heavy equipment, oversized loads, or general freight. Our trailers are made to handle tough jobs and meet the demands of industries like construction, logistics, and manufacturing.
Match the Trailer to the Load
- Check Height, Length, and Weight: Compare your cargo’s dimensions to what the trailer allows.
- Think About Loading Tools: Forklifts work better on certain trailer types depending on height and clearance.
- Plan For Route Restrictions: Some roads limit load height and length. Trailer type can help you stay within legal limits.
- Make Loading Safe and Simple: Choose a trailer that fits your load without awkward adjustments or balancing acts.
Picking the right trailer doesn’t need to be complicated. But speaking from experience—it makes every mile a whole lot easier.
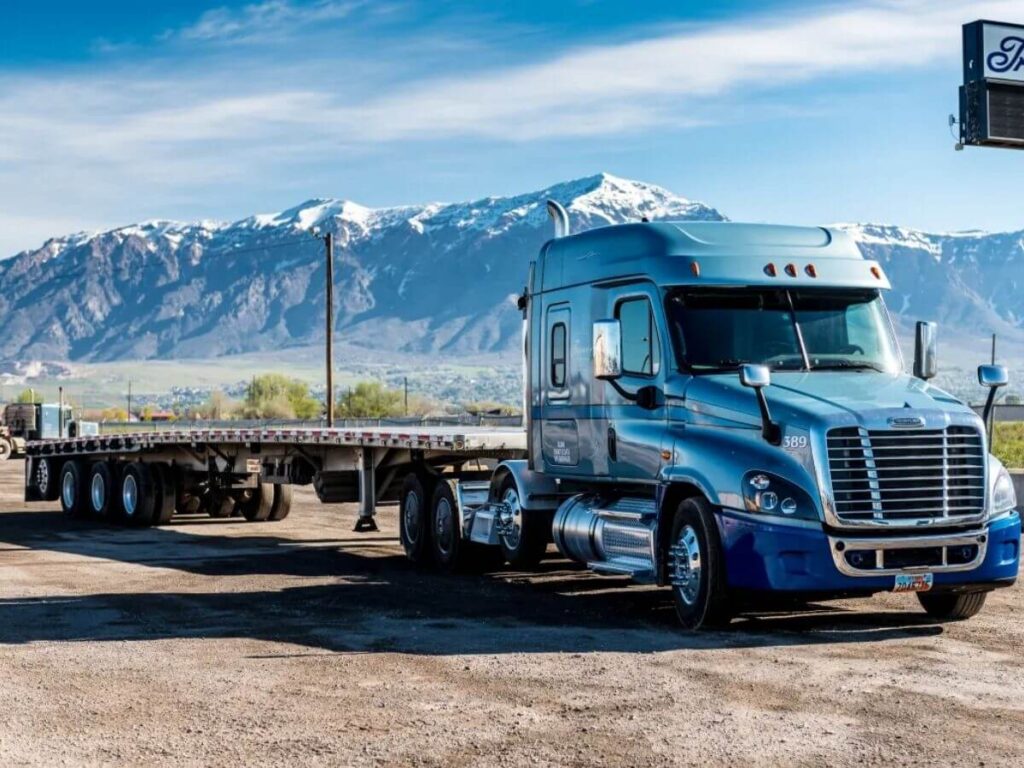
Step#3 Inspect and Prepare the Trailer
After you’ve picked the best trailer for your cargo, the next step is to make sure it’s ready for the road.
Before any cargo touches the deck, take time to check your trailer. I once skipped this step before hauling a load of bricks. Turns out, one of the boards was cracked. It snapped under weight. That mistake cost a repair and delayed delivery.
Don’t rush this part. A clean, damage-free trailer helps everything else go smoother.
Inspect the Deck and Frame
- Look For Cracks Or Samage: Walk the full deck. Watch for bent rails, soft spots, or broken boards.
- Check For Rust or Corrosion: Pay attention to welds, corners, and underneath. Rust can weaken the trailer over time.
- Check Tire Condition and Pressure: Worn-out or underinflated tires are a hazard. Make sure they’re road-ready.
- Inspect Lights and Wiring: Test turn signals, brake lights, and reflectors. Broken lights can get you pulled over.
Prep the Trailer for Loading
- Sweep Off The Deck: Clear out dirt, nails, or leftover chains. A clean surface helps avoid slips and damage.
- Place Wood Blocks or Dunnage: These help balance and protect your load from direct contact with the trailer.
- Gather All Tie-Down Gear: Check that straps, chains, and binders are working. Replace anything worn or frayed.
- Set Your Loading Plan: Know where each item will go. This saves time and prevents last-minute mistakes.
Take this step seriously. Your trailer is your foundation. If it’s not ready, nothing else will go right.
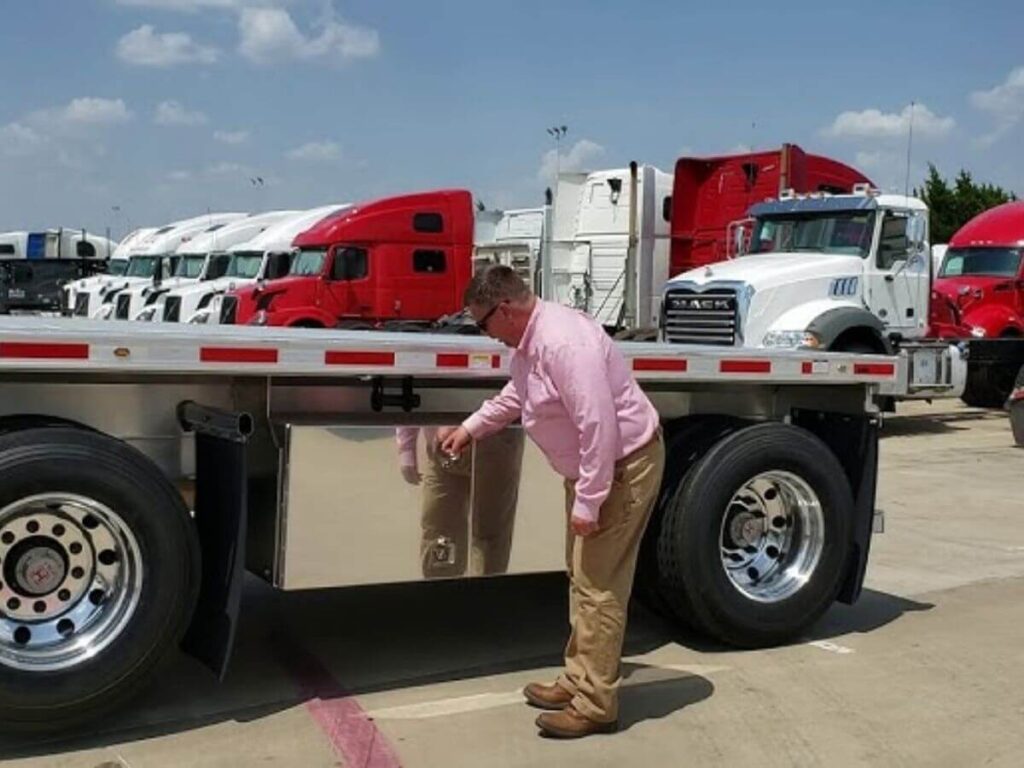
Step#4 Load the Cargo Evenly
Once your trailer is clean, inspected, and ready to go, the next step is loading your cargo the right way. This part isn’t just about getting things on the deck—it’s about placing them in the right spots.
Improper loading creates more problems than you’d think. Shifting weight can affect your brakes, steering, and stability. Even well-secured cargo can become dangerous if it’s not balanced from the start.
- Place Heaviest Items in the Center: Keeps your weight over the axles and helps the trailer stay balanced.
- Distribute Weight Evenly Left to Right: Loading one side heavier than the other causes swaying and uneven wear.
- Avoid Loading Too Much on the Rear: A rear-heavy load can lift your front axle, making the trailer harder to steer.
- Keep the Load Height Low: A lower center of gravity reduces the risk of tipping during turns or sudden stops.
- Group Similar Shapes Together: This prevents empty spaces and keeps cargo from shifting in transit.
- Check Height and Length as You Go: Measure to stay within legal transport limits and avoid overhang issues.
- Leave Room for Tie-Down Access: Don’t cover anchor points—you’ll need them in the next step.
Even loading makes the rest of the job easier. It’s one of those quiet steps that keeps everything safer and more professional down the road.
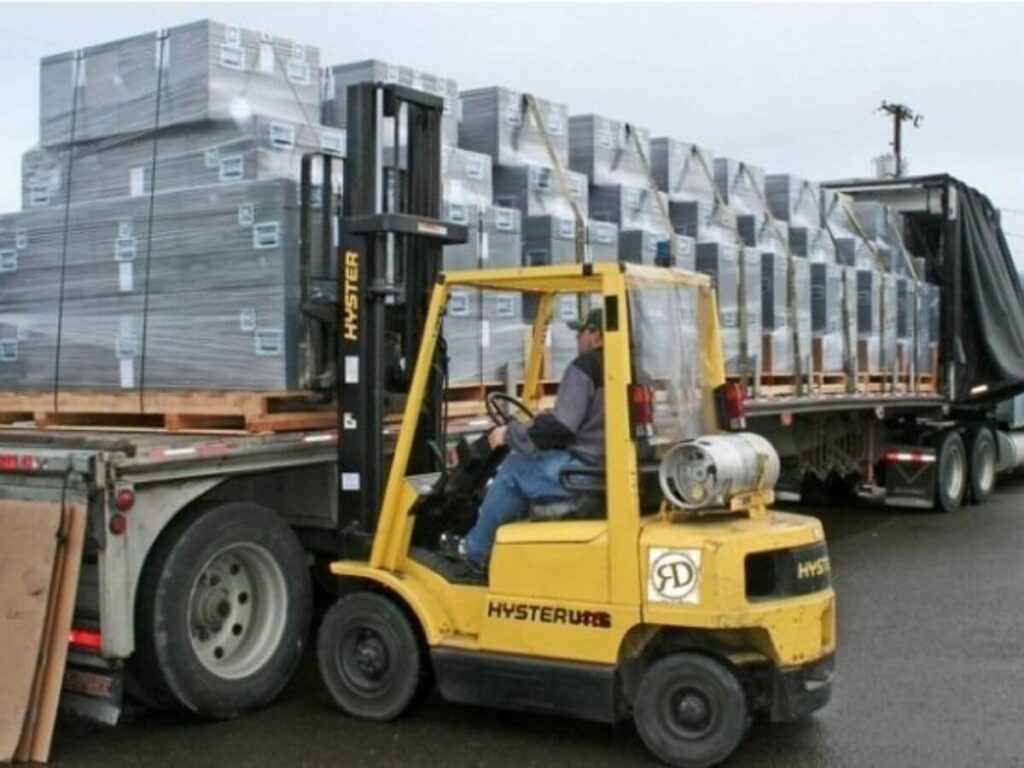
Step#5 Secure the Load with Appropriate Equipment
After you’ve taken time to load everything evenly, the next move is securing it the right way. This isn’t the part you rush through just to get on the road. It’s the part that keeps your load safe—no matter how far you’re going.
I remember helping a newer driver with his first haul. His load looked perfect. Everything was stacked right, height was legal, weight was balanced. But he only used two straps for a multi-ton machine. It shifted on a sharp turn—not enough to fall, but enough to scare him. He got lucky.
This step is about choosing the right equipment—and and using it the right way. Your chains, straps, binders, and anchor points all work together to keep the load in place.
Choose the Right Tools for the Job
- Use Heavy-Duty Straps or Chains: Match your gear to the weight of your load. Light straps don’t hold heavy cargo.
- Check Working Load Limits (WLL): WLL tells you how much each strap or chain can handle. You’ll find it on the tag or stamp.
- Pick Edge Protectors for Sharp Cargo: Straps can get cut by sharp corners. Use guards or padding on edges.
- Use Winches or Binders Correctly: Tighten enough to hold firm—but don’t crush the cargo.
Set and Secure Each Section
- Secure All Sides of the Load: Use tie-downs front, back, and sides. One strap isn’t enough.
- Check Anchor Points First: Rusted hooks or weak anchor points won’t hold under pressure.
- Use Chocks for Rolling Equipment: Wheels need to be blocked, not just strapped.
- Give It a Final Pull Test: After securing, tug each strap or chain. It should feel tight and firm.
The right gear, placed the right way, keeps your load steady from pickup to drop-off. It’s one of the simplest ways to protect your time and your reputation.
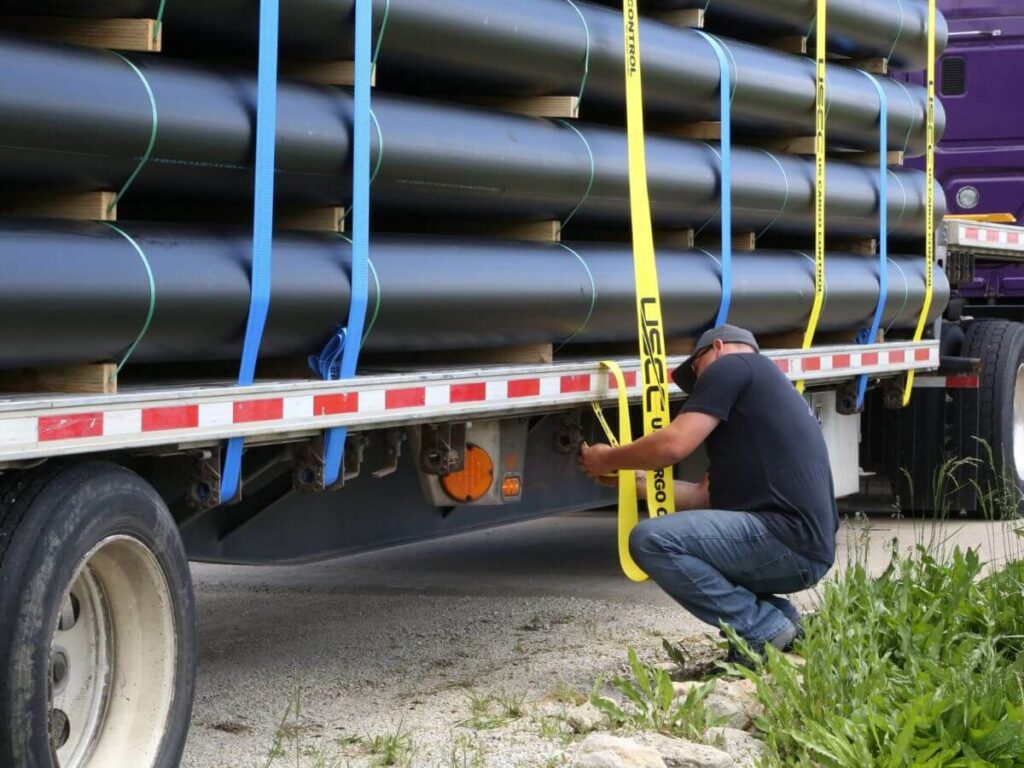
Step#6 Perform a Walk-Around Inspection
Once the load is strapped down, don’t hop in the cab just yet. You’ve come this far—now take one final look.
A full walk-around helps catch what you might’ve missed while loading or securing. I’ve had days where everything felt fine—until I spotted a loose strap hanging off the side. That five-minute check saved the trip.
Think of this step as your last line of defense before hitting the road.
Look at Load and Securements
- Check Every Strap and Chain: Look for twists, frays, or anything loose. Tighten if needed.
- Confirm All Anchor Points Are Locked: Make sure hooks and binders are clipped or locked in place.
- Look Under the Trailer: Items can shift downward. Make sure nothing is hanging or sliding below the deck.
- Inspect Edges and Corners: Make sure padding or guards haven’t slipped off sharp edges.
Check Around the Trailer
- Inspect Lights and Reflectors: Make sure they’re clean and working. Broken lights can get you stopped.
- Look at Tires Again: Even if you checked earlier, one last glance helps. Look for damage or low pressure.
- Check for Obstructions: Make sure nothing is sticking out past the trailer’s legal limits.
- Walk Both Sides and the Rear: Don’t just check one side. Walk the full length of the trailer.
This step doesn’t take long, but it speaks volumes about how seriously you take the job—and how ready you are to roll.

Step#7 Conduct Pre-Trip Checks and Documentation
After your walk-around inspection, you’re almost ready to hit the road. But before turning the key, take time for pre-trip checks and paperwork.
This step may feel routine, but it protects you legally and keeps your trip on track.
- Check Your BOL and Permits: Make sure they match the load and destination. Keep them in an easy-to-reach place.
- Review Your Route and Restrictions: Some roads have height, weight, or hazmat limits. Double-check before rolling out.
- Log the Inspection: Fill out your pre-trip inspection report. It’s required under DOT regulations (source: FMCSA).
- Record Trailer Condition: Note any wear, issues, or repairs. It shows you did your due diligence.
- Verify Load Description: Make sure the paperwork matches what’s actually on the trailer.
Taking care of these small steps now can save you big problems later—and shows you’re running with care, not just speed.
Step#8 Monitor the Load During Transit
After your paperwork’s in order and the wheels start turning, don’t assume the job is done. Loads shift. Straps settle. Weather, road conditions, and even sudden stops can affect how the cargo behaves.
- Pull Over After the First 50 Miles: Straps and chains often loosen early. It’s a good time to stop and tighten them up.
- Stop Every 3 Hours or 150 Miles: That’s the general rule from FMCSA. Regular checks help catch problems before they grow.
- Listen for New Noises: Rattling, dragging, or banging could mean something shifted. Don’t ignore the sound.
- Check Tie-Downs at Every Stop: Walk around the trailer. Look for loose ends, broken edges, or signs of wear.
- Watch for Weather-Related Shifts: Wind, rain, or snow can move lighter cargo or affect strap tension.
- Use Your Mirrors Often: Keep an eye on how the trailer rides. Leaning or bouncing could signal trouble.
Staying alert during transit gives you control. A few simple checks can make the difference between a smooth ride and a tough stop.
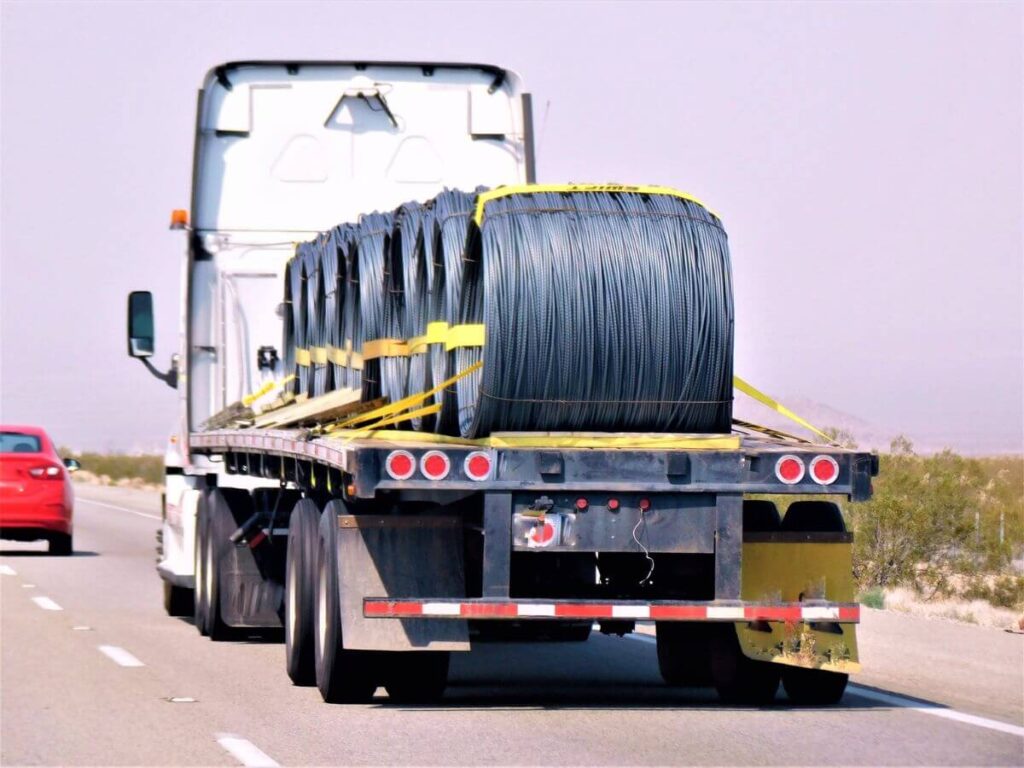
Step#9 Unload with Safety Protocols
You’ve made it to the drop-off. The load stayed in place, the trip went smooth—and now it’s time to finish strong. Unloading might feel simple, but it’s where mistakes often happen.
I’ve been on sites where people rushed this part. Straps came off too fast. Forklifts moved too early. One slip, and something heavy was rolling where it shouldn’t be. That’s why unloading needs just as much attention as loading.
Prepare the Area and Equipment
- Park on Flat, Solid Ground: This keeps the trailer steady during unloading.
- Set the Parking Brake and Use Wheel Chocks: You don’t want any movement while you’re working.
- Clear the Work Zone: Make sure no tools, debris, or people are in the way.
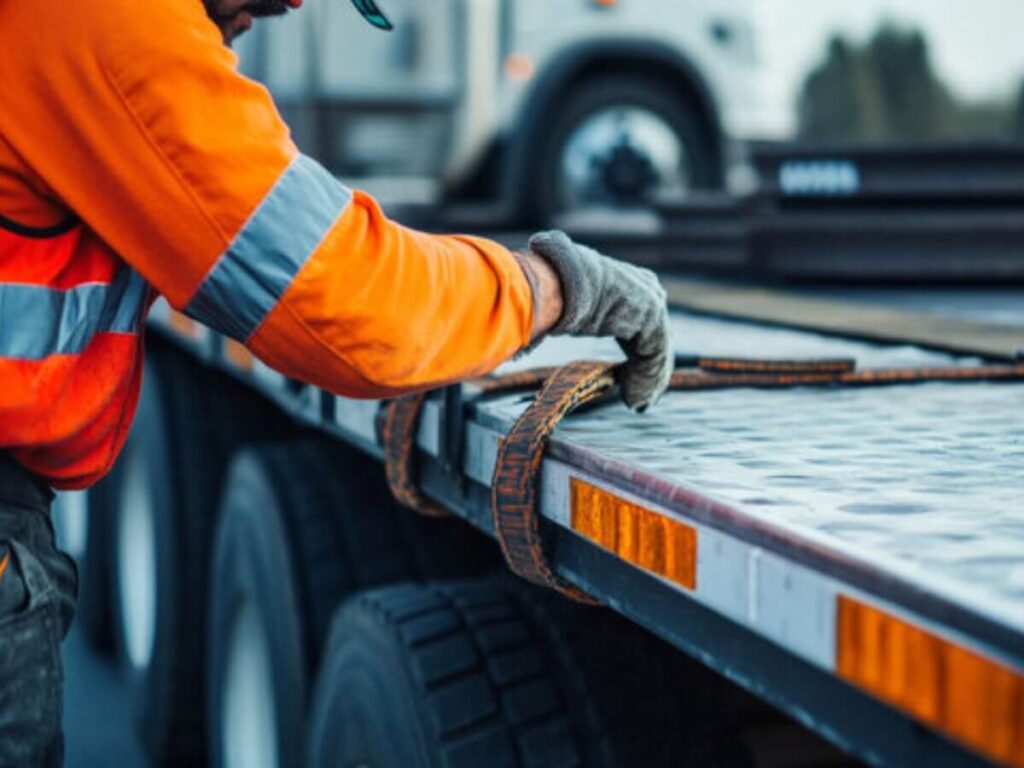
- Wear Safety Gear: Gloves, boots, and a vest give you better grip and visibility.
Unload With Caution and Control
- Loosen Straps or Chains Slowly: Sudden movement can throw the load off balance.
- Use a Spotter for Heavy Items: Another set of eyes helps guide large cargo safely.
- Unload in Sections: Don’t remove all restraints at once. Work piece by piece.
- Check for Load Shift: Look before lifting. Cargo may have shifted during the drive.
Finishing the job safely is just as important as starting it right. Take your time—this last step reflects the care you gave every mile.
Conclusion
Transporting a load safely isn’t about one big move—it’s about doing the small steps right, every time.
Remember that early morning breakdown? It could’ve been avoided. Now, so can yours.
Start small. Check your trailer. Walk the load. Lock it down with care.
Need help choosing the right setup? Rhinotrail is here to support your next move.
Contact us today and let’s move forward—together.


