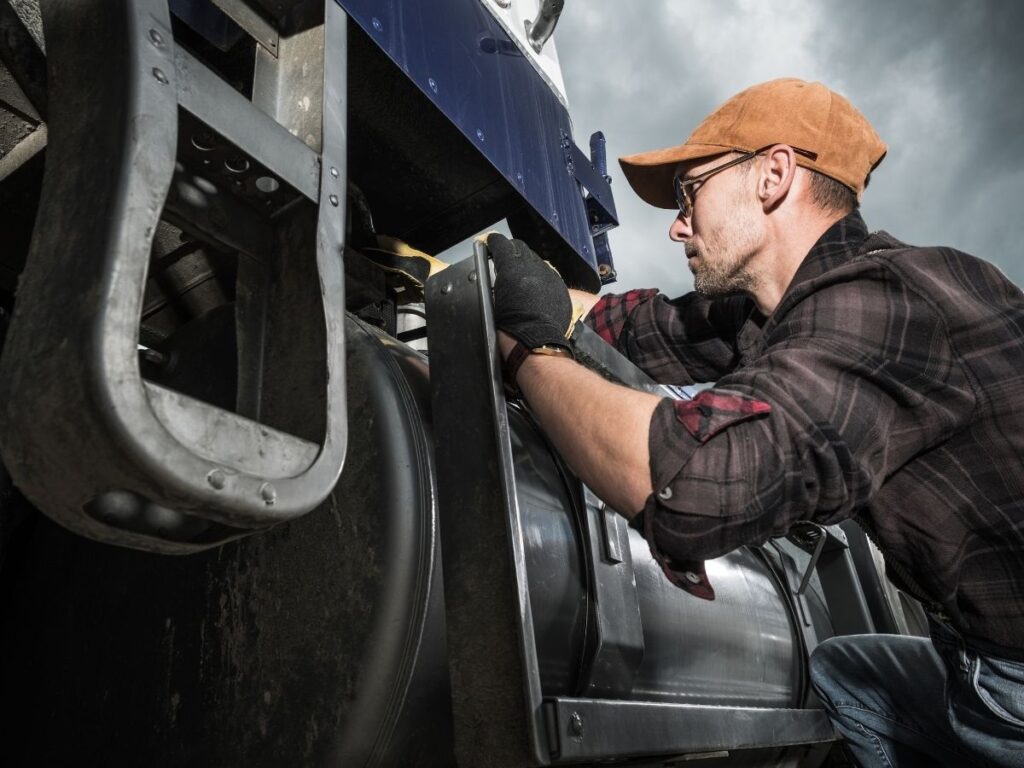
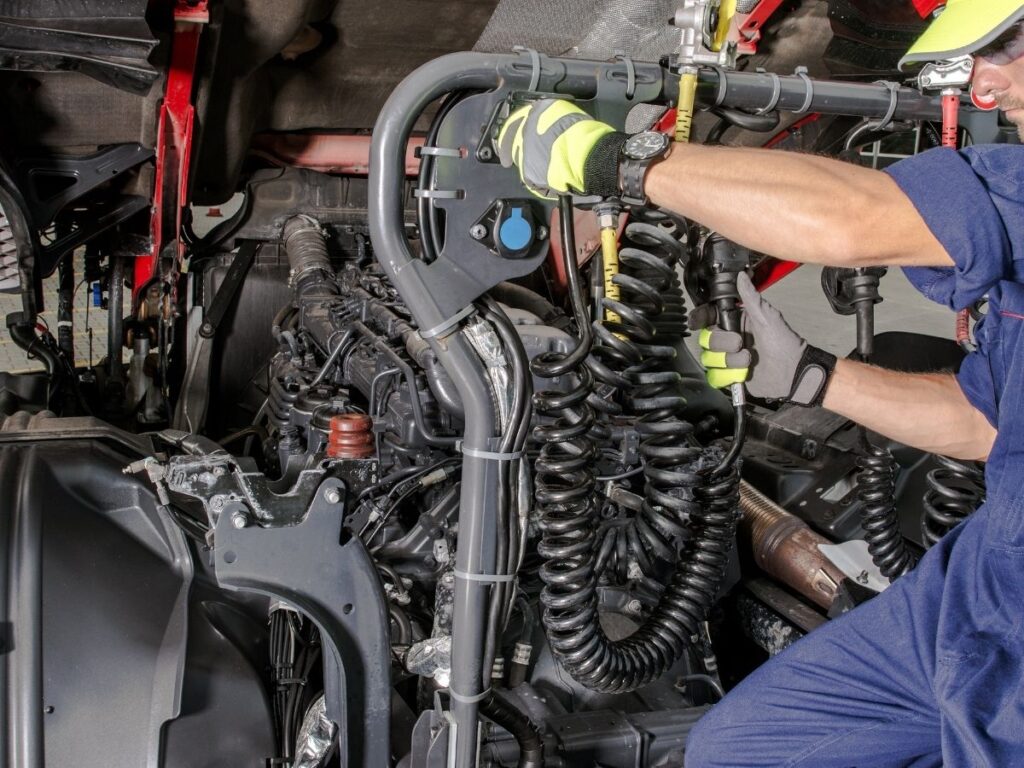
The first time I hauled my dad’s old flatbed, I skipped the brake check. A few miles later, I almost ran a red light. Scary stuff.
Since then, I’ve never left without adjusting those brakes—and I’ve taught dozens of drivers to do the same.
As someone who hauls heavy loads for a living, I’ve been through these tough moments. And I’ve learned what works. This article isn’t based on guesses—it’s based on real experience, out on real roads.
If your trailer brakes feel off or you’re just trying to avoid what happened to me—you’re in the right place.
In this guide, I’ll show you exactly how to adjust trailer brakes.
By the end, you’ll have the confidence to check and adjust your brakes the right way before your next haul.
Let’s start!
Quick Guide
Here’s a quick look at the steps involved in adjusting trailer brakes. This table gives you a clear, no-fluff summary of what to expect—so you’re ready for the full guide that follows.
| Step | What You’ll Do |
| Step #1 Park Safely and Prepare Your Tools | Park on level ground, chock the wheels, gather tools like a jack, wrench, and brake spoon, and check for visible issues. |
| Step #2 Raise the Trailer and Remove the Wheel | Use a strong jack and jack stands to lift the trailer safely, then remove the wheel and inspect the area. |
| Step #3 Locate the Brake Adjuster | Find the star wheel inside the brake drum by removing the rubber plug and shining a light into the backing plate. |
| Step #4 Adjust the Star Wheel to Tighten the Brakes | Use a brake spoon to turn the star wheel until the brake shoes press lightly against the drum. |
| Step #5 Back Off the Adjuster Slightly | Turn the star wheel back 6–8 clicks so the brakes don’t drag too much while driving. |
| Step #6 Repeat the Adjustment to All Brake Assemblies | Follow the same process for every brake on the trailer to keep them balanced and even. |
| Step #7 Test the Trailer Brakes | Hook up the trailer, do a slow brake test in a safe area, and watch for sounds or pulling. |
| Step #8 Recheck After Initial Use | After the first few hauls, recheck brake fit and drag. Adjust slightly if needed and watch for wear or imbalance. |
Once you’ve got a feel for these steps, we’ll go deeper into each one—so you can adjust trailer brakes the right way, safely and with confidence. Ready to dig in? Let’s get started.
Step#1 Park Safely and Prepare Your Tools
Adjusting trailer brakes isn’t just about turning a star wheel. It starts way before that—with the ground you park on and the tools you bring with you.
This first step might seem simple, but it sets the tone for the whole job. If you rush here, everything that comes next gets harder and more dangerous.
Park the Right Way
- Park on Flat: Choose a solid, level surface like pavement or hard-packed gravel. Slopes—even small ones can let your trailer shift or roll.
- Use Parking Brake: Pull your tow vehicle’s parking brake tight. It helps hold the load steady while you work.
- Chock the Wheels: Use wheel chocks on both sides of at least one trailer tire. These wedge-shaped blocks stop any unwanted movement.
- Turn Off Engine: Shut off the engine before you go near the trailer. It’s safer and helps you focus without noise or vibration.
At Rhinotrail, our trailers are designed with safety in mind featuring anti-slip access points, reinforced jack points, and clear brake access layouts, making setup and maintenance like this quicker and safer.
Gather Your Tools
- Jack and Jack Stands: A floor jack lifts the trailer, and jack stands keep it stable while you work underneath.
- Lug Wrench: You’ll need it to remove the wheels so you can get to the brake drum.
- Brake Spoon or Flathead: This is the tool used to turn the brake adjuster (star wheel). A flathead screwdriver can work if you don’t have a brake spoon.
- Work Gloves: Protect your hands from sharp edges and grease. Good gloves also help you grip tools better.
Build a Simple Routine
- Keep Tools Handy: Keep your brake tools in one small bin or toolbox. It saves time and keeps things organized.
- Walk Around First: Take a minute to check for grease leaks, frayed wires, or missing hardware. Small things can become big problems if ignored.
- Work in Good Light: Brakes have small parts tucked in tight spots. Whether you’re outside or in a garage, you’ll need a flashlight or bright light to see clearly.
Don’t treat this step as a formality. It’s the foundation for a safe brake job. Taking the time to set up right means everything else goes smoother—and keeps you safer.

Step#2 Raise the Trailer and Remove the Wheel
Now that your trailer is parked and you’ve checked what type it is, it’s time to get access to the brakes. That means lifting the trailer safely and removing the wheel.
I remember the first time I did this on my own. I rushed. I used a jack that wasn’t strong enough, and the trailer leaned hard to one side. It shook me up. Since then, I always take this step slow and steady.
You don’t need fancy tools. Just the right ones—and a few safety habits.
Lifting the Trailer Safely
- Use a Strong Jack: Pick one rated for the trailer’s weight. Check the label if you’re unsure.
- Lift from a Solid Spot: Place the jack under the axle or frame, not weak areas. The wrong spot can bend or crack.
- Jack Up Slowly: Raise the trailer just enough to get the wheel off the ground. Don’t go too high.
- Slide in Jack Stands: These hold the weight while you work. Never rely on the jack alone.
Taking the Wheel Off
- Loosen Lug Nuts First: Crack them loose before you lift. It’s easier that way.
- Use a Cross Wrench: This tool gives better grip than a regular wrench.
- Set the Wheel Aside: Keep it flat nearby, not leaning. That keeps it from rolling.
- Inspect as You Go: Check the tire and drum area for wear, grease, or damage.
Taking time to lift and remove the wheel the right way makes everything that follows safer and easier. One careful step at a time—that’s how you get the job done right. You don’t need to rush this part; doing it slow and steady gives you a solid base to adjust your trailer brakes with confidence and avoid problems down the road.

Step#3 Locate the Brake Adjuster
Now that the wheel is off, you’re ready to find the part that actually adjusts the brakes. It’s a small component, but it does all the work.
The first time I worked on trailer brakes, it took longer to find the adjuster than it did to turn it. It’s not always in plain sight. If you’ve never done this before, that’s normal. Brake setups can look confusing at first—but once you spot the adjuster, things get much easier.
The brake adjuster is also called the star wheel. It controls how far the brake shoes sit from the drum.
Here’s how to find the brake adjuster
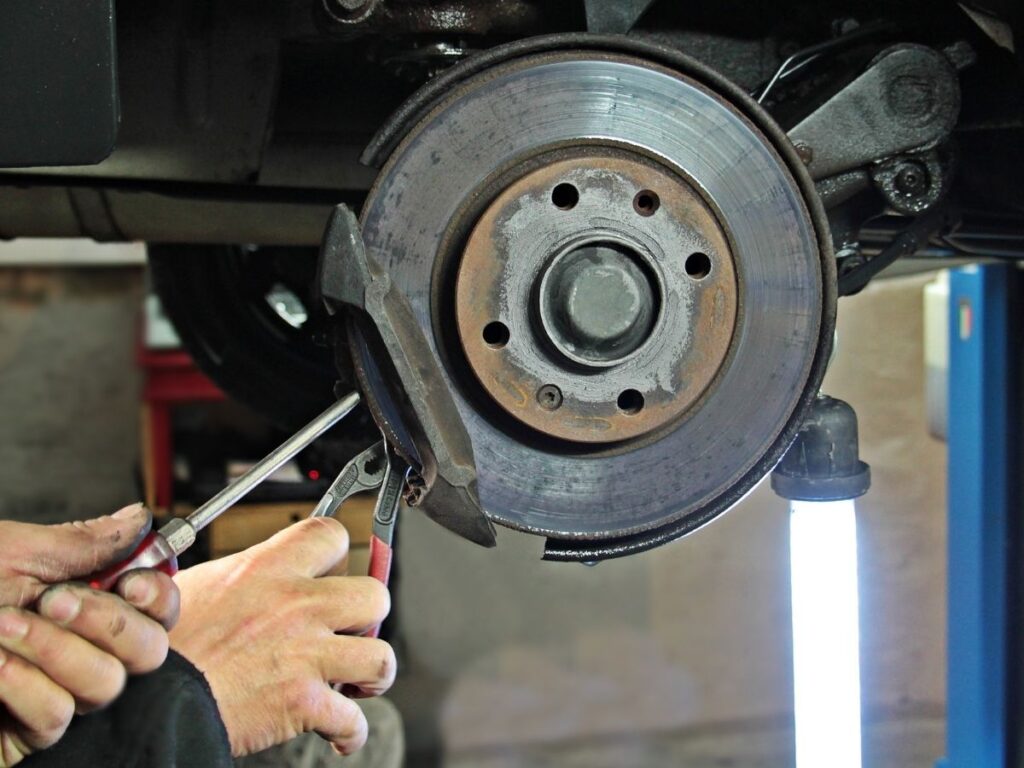
- Check the Backing Plate: This is the round metal cover behind the brake drum.
- Locate the Rubber Plug: There’s usually a small oval or round cap. Pry it off carefully.
- Shine a Light Inside: It’s dark in there, and the parts may be dusty or greasy.
- Look for the Star Wheel: This part looks like a small gear or wheel with teeth.
- Use a Screwdriver or Spoon Tool: You’ll be turning this later to make the adjustment.
- Repeat for Every Wheel: Each brake assembly has its own adjuster and needs its own check.
Once you know where to look, finding the brake adjuster becomes quick and simple. It’s a small part—but it sets the stage for a safe and smooth ride.
Step#4 Adjust the Star Wheel to Tighten the Brakes
Now that you’ve found the star wheel, it’s time to do the actual adjusting.
This part might feel a little awkward at first.
You’re tightening the brake shoes so they sit closer to the drum. That’s what gives you stronger, more even braking.
How to Turn the Star Wheel
- Use the Right Tool: A brake spoon works best, but a flathead screwdriver gets the job done too.
- Push Up or Down: Which way to turn depends on the brake’s setup. Some go up to tighten, others down.
- Feel the Resistance: As you tighten, the shoes move out. You’ll start to feel more drag.
- Turn Slowly: Go one or two clicks at a time. It’s not a race.
Know When to Stop
- Spin the Drum: Turn the hub or drum by hand. You want a slight scraping sound—not a hard stop.
- Test for Light Drag: The wheel should still spin but with some resistance. That means the shoes are close, but not locked.
- Too Tight? Back Off: If it won’t spin, you’ve gone too far. Back off a few clicks.
- Repeat If Needed: It’s okay to adjust more than once until it feels just right.
Getting the adjustment right means better stopping power and less wear on your tow vehicle’s brakes. Take your time—this step is where good trailer control begins.

Step#5 Back Off the Adjuster Slightly
Once you’ve tightened the brake shoes, you might think you’re done. But there’s one more key move—you need to back off the adjuster a little. This creates the small gap needed so the brakes don’t drag too much while driving.
I once skipped this step on a short trip. The trailer brakes got hot fast. I had to pull over and do the job all over again—on the side of the road.
Backing off a few clicks makes all the difference.
- Count the Clicks: Turn the star wheel backward 6–8 clicks after tightening.
- Listen for Change: The scraping noise should fade slightly, but not disappear.
- Spin the Drum Again: It should turn freely with light contact—not fully loose.
- Adjust as Needed: If it still feels tight, back off a few more clicks.
Step#6 Repeat the Adjustment to All Brake Assemblies
Now that you’ve adjusted one brake, it’s time to do the rest. Most trailers have two or more axles, and each wheel has its own brake assembly. Adjusting just one won’t fix your stopping power. All brakes need to be balanced.
I used to only adjust the loudest one—the one that squeaked. But uneven brakes made my trailer pull to one side during stops. Not safe. Once I adjusted all of them, everything felt more stable.
Move to the Next Wheel
- Lower the Trailer: Bring down the axle you just worked on before moving to the next.
- Lift the Next Side: Use the jack and jack stands to raise one side at a time.
- Remove the Wheel: Loosen the lugs, take off the wheel, and set it aside flat.
- Follow the Same Steps: Locate the star wheel, tighten it, then back it off slightly.
Match Each Brake
- Feel for Drag: Spin the drum. You should feel slight resistance—no more, no less.
- Count the Clicks: Adjust each wheel with about the same number of turns.
- Watch for Differences: Don’t let one brake feel tighter than the others.
When all your brake assemblies are balanced, your trailer will stop straighter, smoother, and safer—no surprises. Taking the extra time to adjust each wheel evenly gives you more control on the road, more confidence when hauling, and a whole lot less stress when it’s time to brake.
Step#7 Test the Trailer Brakes
Once you’ve adjusted all the brakes, it’s time to test them. This step matters just as much as the adjustment itself. It helps you catch anything you missed—and make sure your trailer is safe to tow.
Testing the brakes gives you peace of mind before hitting the road.
Try a Manual Brake Test
- Reconnect the Trailer: Hook everything back up to your tow vehicle securely.
- Use the Brake Controller: Most setups have a manual lever inside the cab.
- Drive Slowly: Find an open area like an empty parking lot or gravel road.
- Pull the Lever: You should feel the trailer slow down evenly, without pulling.
Watch and Listen
- Listen for Sounds: Squealing or grinding might mean shoes are still rubbing.
- Feel for Pulling: If the trailer jerks to one side, recheck that brake.
- Check the Stop Power: It should be firm but smooth—not too weak or too strong.
- Adjust Again if Needed: Small tweaks make a big difference.
Taking a few minutes to test your trailer brakes now can save you from big problems later—and give you the confidence to haul safely and smoothly.
Did you know that Rhinotrail trailers are engineered with precision-aligned brake systems, heavy-duty axles, and premium-grade components, ensuring smooth, balanced stops—right out of the factory. That means less trial and error during adjustments, and more confidence when you’re out on the road.

Step#8 Recheck After Initial Use
Even after you’ve adjusted and tested the trailer brakes, the job’s not fully done. Brakes settle in after your first few hauls. Heat, road bumps, and weight can shift the brake shoes slightly. That’s why this step matters.
I like to recheck mine after the first 50–100 miles. It’s a small habit that’s saved me from bigger problems later.
Inspect After Driving
- Feel the Drum: Light heat is normal. If it’s too hot, the brake might be too tight.
- Listen While Braking: Any new noise could mean something shifted.
- Check for Dust: Brake dust or grease around the hub may signal a problem.
- Watch for Pulling: Trailer pulling means brakes may have come out of sync.
Recheck Brake Fit
- Lift the Trailer Again: Use your jack and stands—just like before.
- Spin the Drum: It should turn with light resistance, not stick.
- Check for Drag: Listen for a soft scrape, not a hard rub.
- Adjust Lightly: Back off or tighten as needed—just a few clicks.
Build a Habit
- Inspect After Heavy Loads: Extra weight can knock your brake balance off.
- Keep Notes: Track your adjustments and brake wear over time.
- Check Wiring: If using electric brakes, loose wires can affect performance.
- Set Reminders: A seasonal check keeps your trailer in good shape year-round.
A simple recheck after your first trip gives you lasting performance, longer brake life, and a safer haul. It’s a small step that goes a long way.
Conclusion
I started this guide with a near miss at a red light. Scared me straight. Now you know how to avoid that moment.
You know how to stop with control. You know what to do—and why it matters.
This isn’t just maintenance. It’s your peace of mind.
You’ve got the tools. Now trust yourself and take action.
Are you ready to feel more confident on the road?
Contact Rhinotrail—we’ll help you get set up for whatever you haul next.


