I once had a customer call me in a panic after two trailer axles failed in the same week. Both could have been avoided with better construction.
That’s when I realized how many businesses struggle with this exact issue.
I’ve spent years building axles that hold up under real pressure. From fleet maintenance to custom builds, the tips I share here come from experience, not guesswork.
This article will guide you through every step. From sizing and welding to final checks, you’ll get the info you need to build an axle that works hard without giving up.
If you’re tired of breakdowns, you’re in the right place.
Let’s get started!
Step #1: Gather the Necessary Tools and Materials
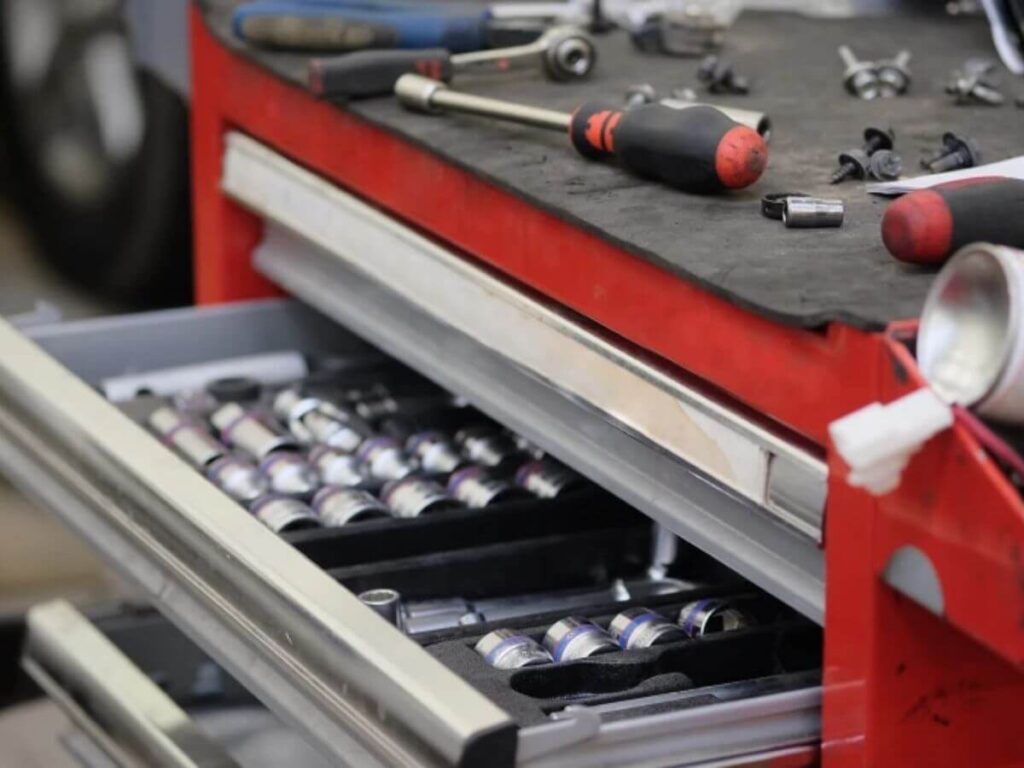
If there’s one thing I’ve learned building axles, it’s that preparation saves hours. I’ve lost count of the number of times I’ve seen jobs stall just because someone forgot a clamp, a weldable spindle, or the right size bearing. Having everything ready from the start means you can focus on doing clean, accurate work, and you avoid the headache of mid-build runs to the hardware store.
Tools You’ll Need
- Welder (MIG or Stick): MIG is faster and cleaner, but stick welding works just fine if it’s what you’re used to. Just make sure it’s strong enough to handle 1/4-inch thick steel.
- Angle Grinder: Keep cutting wheels, flap discs, and grinding discs handy. I like to have two grinders ready—one set for cutting, one for cleanup.
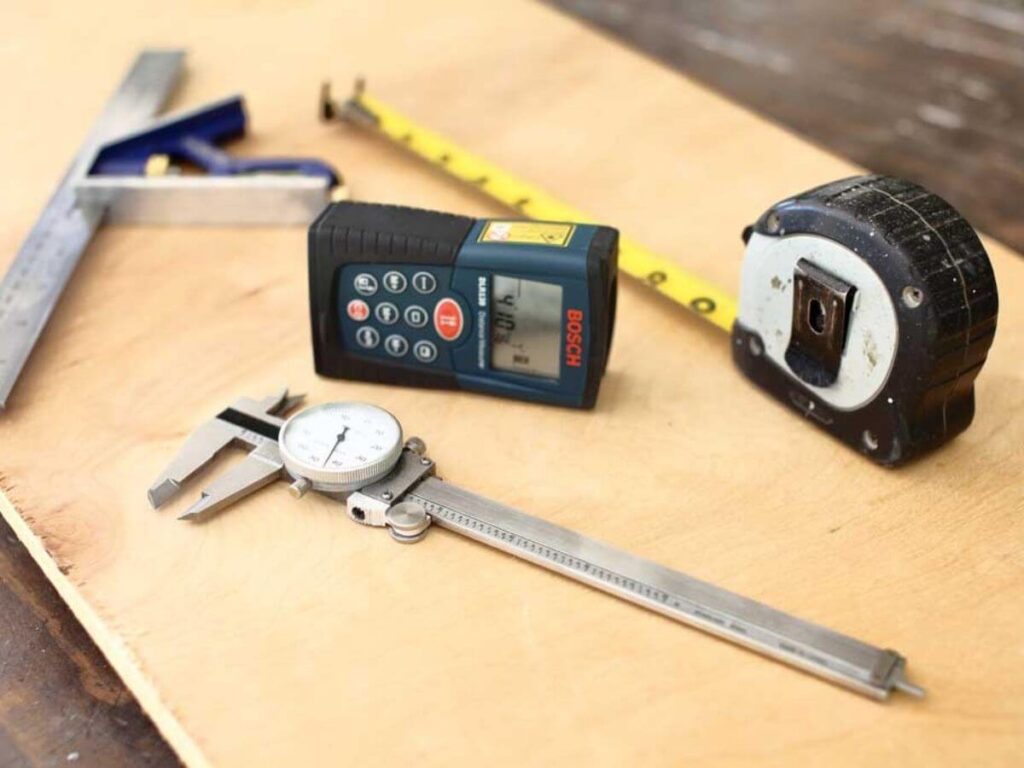
- Steel Measuring Tools: A reliable tape measure, a steel rule, a square, and a scribe. You’ll use these constantly for alignment and layout.
- Clamps and Magnets: You’ll need strong clamps to hold heavy pieces and welding magnets to keep things square during tack-up.
- Drill with Metal Bits: You’ll drill mounting holes for spring seats, brake brackets, or wiring brackets.
- Torque Wrench and Ratchets: Critical for torquing spindle nuts, brake hardware, and U-bolts later in the process.
- Hydraulic Press (Optional): If you’re adding camber or pressing in bearings, a shop press can make life easier.
- Personal Protective Equipment (PPE): Safety glasses, welding helmet, fire-resistant gloves, ear protection, and steel-toe boots. Don’t skip these. Injuries delay jobs and cost you more than any tool.
Materials You’ll Need
- Axle Tube: Usually round or square steel tubing with a 3/16-inch to 1/4-inch wall thickness. Common sizes are 2.375-inch or 3-inch OD for round axles.
- Spindles: Choose pre-machined spindles that match the hubs and brakes you plan to use. Double-check bearing sizes and lengths.
- Hubs and Bearings: Purchase as a matched kit with inner and outer bearings, grease seals, dust caps, and lug nuts.
- Brake Assemblies: These can be electric or hydraulic. Make sure they match your hubs and spindle setup.
- Spring Mounts or Torsion Arms: Depending on the suspension type, you’ll need spring seats, hangers, or torsion arm kits.
- U-Bolts and Mounting Plates: For securing the axle to the leaf springs. Go heavy-duty if your trailer is rated for more than 5,000 lbs.
- Paint or Primer: Use rust-inhibiting primer and industrial enamel or chassis paint.
- Brake Wiring or Hydraulic Lines: Don’t forget the wiring harness, junction boxes, connectors, or hydraulic fittings you need for a clean install.
Step #2: Take Accurate Measurements
This is one of those steps where you only get one shot. If your measurements are off by even half an inch, you could end up with a crooked axle, tires that rub, or a trailer that doesn’t track straight. Trust me, I’ve seen it all—and fixing mistakes later takes way more time than doing it right the first time..
Critical Measurements to Take
- Hub Face to Hub Face: This is the total width from one hub mounting surface to the other. It determines how wide your wheel track will be and has to match your trailer specs.
- Spring Center to Spring Center: This is the distance between the centers of your spring seats or torsion arm mounts. It has to align with your trailer’s suspension system.
- Overall Axle Length: This includes extra tube beyond the spring seats to accommodate welds and hardware. Make sure there’s enough clearance from the frame.
- Camber Consideration: Some axles are bent slightly upward in the center to provide camber. This helps tires stay flatter under load. If you’re building a cambered axle, account for that in your tubing prep.
Pro Tips for Accuracy
- Use Consistent Reference Points: Don’t measure from random edges. Always measure from hub face to hub face and from centerline to spring seat.
- Check for Square: Use a carpenter’s square or laser level to make sure your lines are straight and symmetrical.
- Measure More Than Once: Always double-check your numbers. I typically measure each side twice, then verify the total.
Step #3: Cut and Prepare the Axle Tube
Now that your measurements are locked in, it’s time to move into fabrication mode. This is where precision starts turning into steel. Getting the axle tube cut clean and prepped right lays the foundation for every weld, mount, and alignment decision that follows.
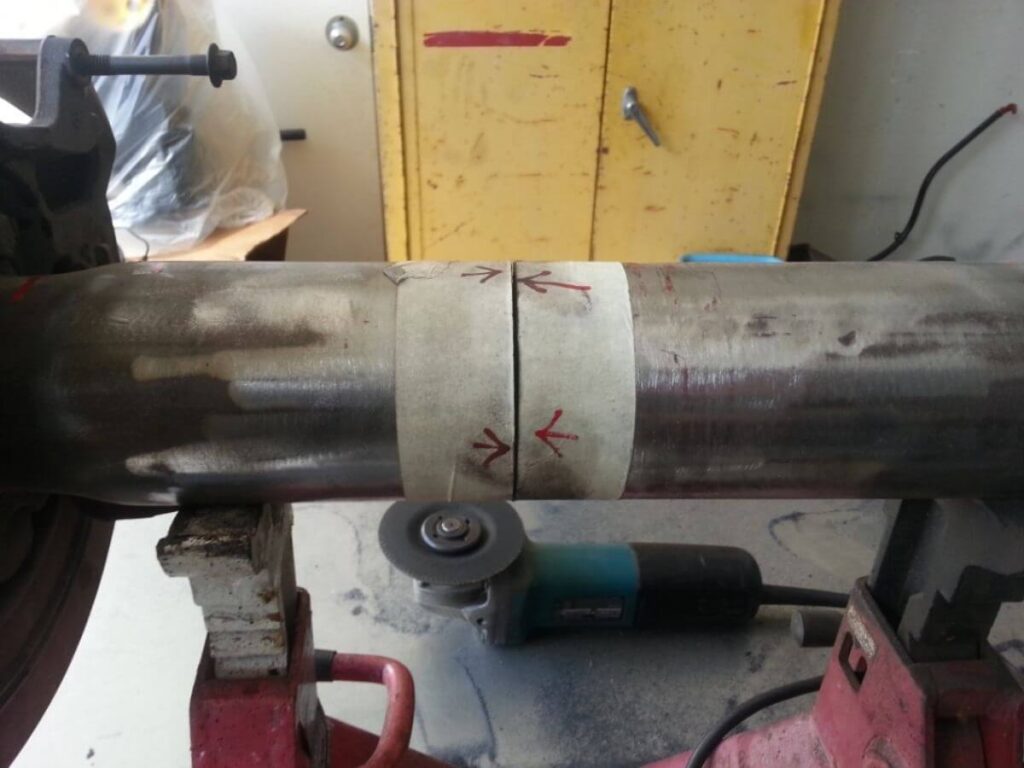
- Mark Your Cut Line: Use a wraparound or framing square to ensure a perfectly perpendicular mark. I prefer a scribe over a marker for precision.
- Use the Right Tool for the Job: A bandsaw will give you the cleanest cut. If you’re using a grinder, go slow and steady. No shortcuts.
- Deburr and Bevel the Ends: Use a flap disc or bench grinder to smooth both ends and bevel the edges slightly. This improves weld penetration.
Preparing for Layout
- Mark the Centerpoint: This helps you place camber, spring seats, and any brackets. Measure from both ends to verify it.
- Layout Spring Mounts and Brakes: Mark where spring seats or torsion arms will be installed. Add notes for brake flange positions.
- Add Camber If Needed: If your build calls for camber, use a hydraulic press to bend the tube slightly upward in the center. This helps compensate for load deflection.
Cleanliness is key here. I always wipe the entire axle tube down with acetone to remove any grease or rust scale. Contaminants can weaken your welds or cause defects in your paint finish later on. The cleaner your metal, the better the outcome across the board.
Step #4: Weld the Spindles to the Axle
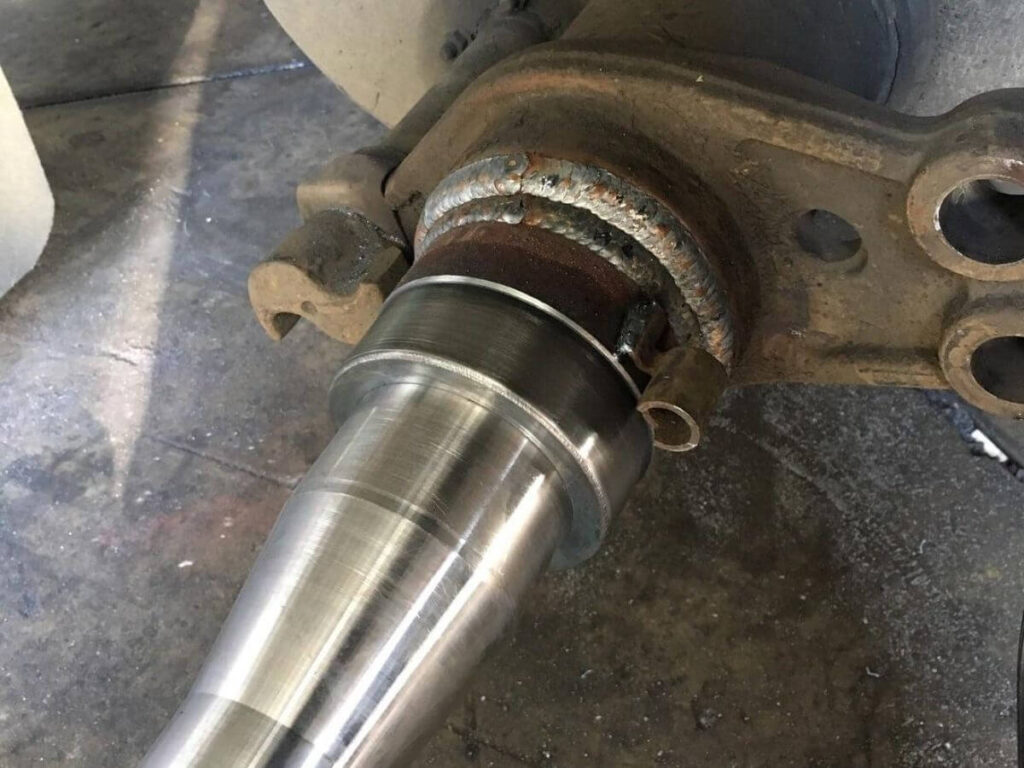
Welding spindles isn’t just about sticking metal together—it’s about alignment, structure, and safety. If your spindles aren’t square, parallel, and deeply fused to the tube, the rest of your axle might as well be junk. I’ve had to cut off and re-weld more spindles than I care to admit early in my career. Now I triple-check everything before laying my first bead.
- Tack First, Measure Twice: Always tack each spindle in place before you fully weld. Double-check spacing and vertical alignment.
- Use a Level and Straight Edge: Place a straight edge across both spindle faces. They must be perfectly aligned to each other.
- Weld in Stages: I use a 12 o’clock, 6 o’clock, 3 o’clock, and 9 o’clock pattern to spread heat evenly. This minimizes warping.
If you’re building multiple axles for a small fleet or rental stock, consider making a jig to hold both spindles in alignment. It will save you hours over the long term.
Once both spindles are welded in and cooled, the axle assembly starts to feel real. You’re past the halfway mark, and up next is installing the spring mounts or torsion arms, where the axle meets the suspension system.
Step #5: Install Spring Mounts or Torsion Arms
This step connects your axle to the trailer’s suspension system, and that means everything from weight distribution to road handling depends on getting it right. Whether you’re working with traditional leaf springs or using torsion axles, precise placement and solid mounting are critical. Even a half-inch misalignment here can lead to uneven wear or tracking issues on the road.
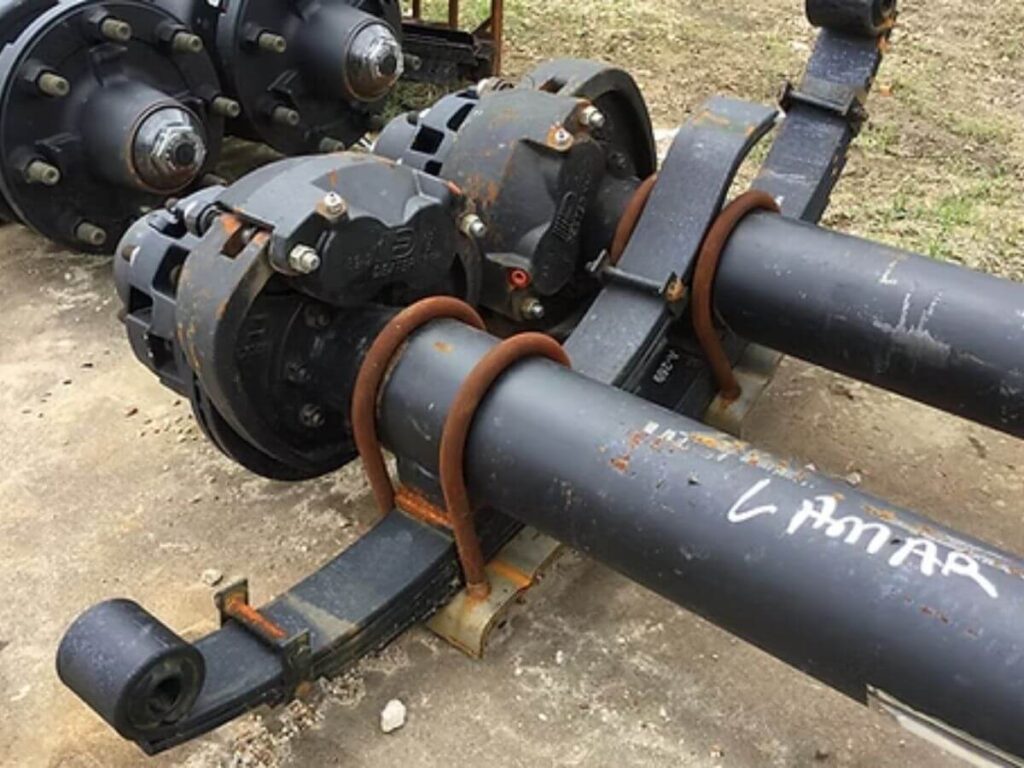
For Leaf Spring Mounts
- Locate the Spring Centers: Use the spring center measurement you took earlier. Mark the locations clearly on the axle tube.
- Position the Spring Seats: These go on top or bottom of the axle depending on whether you’re using an overslung or underslung configuration. The bowed side of a cambered axle should always face up.
- Tack Weld First: Secure the spring seats with tack welds and remeasure before finishing. I’ve seen full welds go to waste because someone skipped this check.
- Add Shock Mounts if Needed: If your trailer has shocks, now is the time to weld on brackets before the axle gets mounted.
For Torsion Axles
- Follow Manufacturer Specs: Torsion axles come with specific angle settings for the arm. Make sure they’re matched side to side.
- Bolt or Weld Carefully: Most torsion axles are bolt-on, but some may require light welding. Use Grade 8 bolts and torque to specification.
- Verify Frame Alignment: The brackets must sit square to the trailer frame, or the tires will toe out under load.
Step #6: Add Brakes and Hubs
Now we’re getting to the part where the axle starts to look like a finished assembly. Installing the brakes and hubs not only gives the axle functionality but also sets the stage for safe towing. Whether you’re using electric or hydraulic brakes, everything must go together clean, tight, and square.
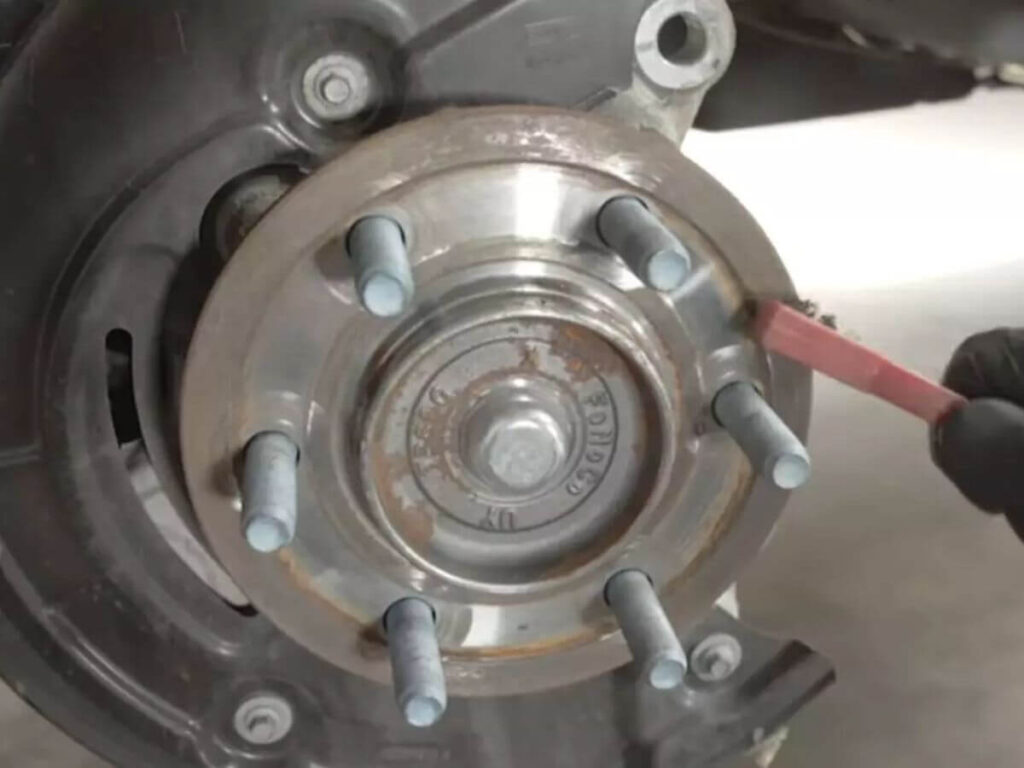
- Mount the Backing Plates: Secure them to the brake flange with bolts or studs. Make sure they sit flat and are oriented properly—left and right sides often differ.
- Install the Shoes and Magnets (Electric): Slide the brake shoes into position and clip the magnet in place. Route wiring through grommets and use heat shrink on all terminals.
- Route Hydraulic Lines (If Needed): For hydraulic setups, use steel brake lines with secure clamps and leave enough flex to handle axle travel.
- Grease the Bearings: Pack both the inner and outer bearings with high-temp wheel bearing grease. Don’t rush this—improper packing is a leading cause of failure.
- Install the Hubs: Slide the hub over the spindle, making sure not to damage the grease seal. Spin it as you go to seat the bearings.
- Torque the Spindle Nuts: Tighten the nut while spinning the hub, then back it off slightly and set the cotter pin or locking clip. The hub should spin freely but without play.
Step #7: Inspect, Test, and Paint
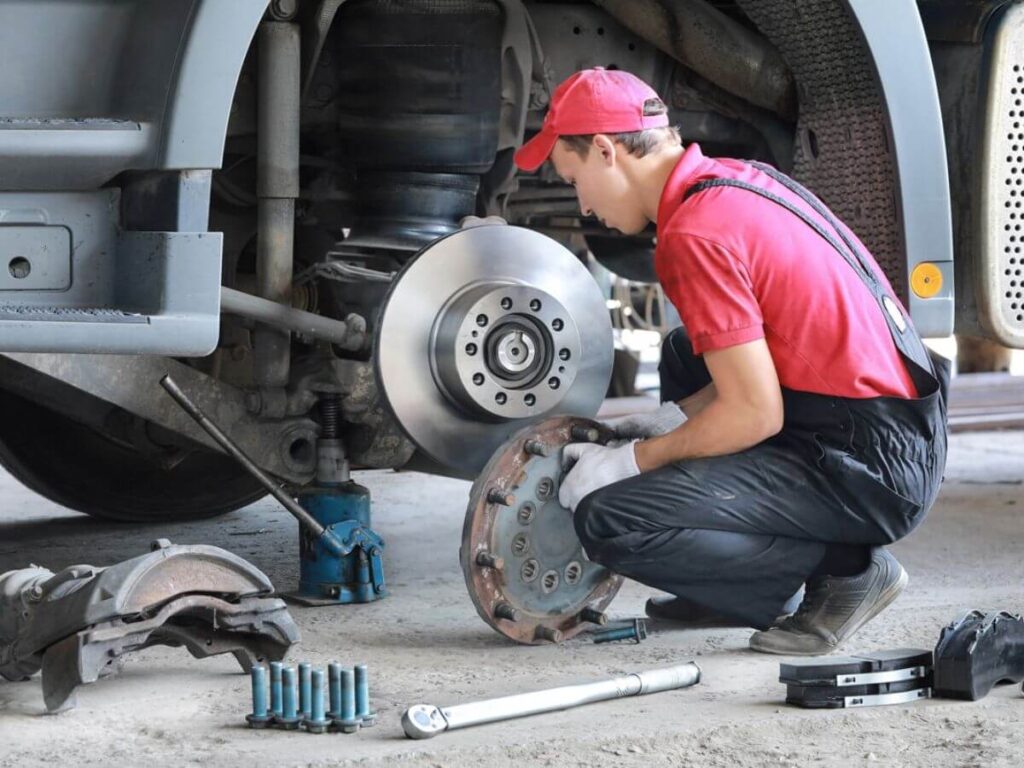
It’s time to take a step back and give it a thorough inspection. This is where you catch small issues before they turn into major problems. I’ve made it a rule to never skip this part—especially if the axle will be going on a customer’s trailer or into a rental fleet.
Inspection Checklist
- Weld Quality: Look closely at all welds, especially around the spindles and spring seats. There should be no cracks, undercuts, or excessive spatter.
- Axle Alignment: Use a long straight edge or string line across the spindles to make sure they’re in the same plane. Uneven spindles lead to uneven tire wear.
- Brake Function: Connect the electrical system or hydraulic actuator and test the brakes. You should hear and feel a clean engagement. If one side lags, troubleshoot now.
- Hub Spin: Each hub should spin freely by hand. Listen for grinding or resistance, which could indicate misaligned bearings or contaminated grease.
Paint and Rust Prevention
Once you’re confident in the build, it’s time to give it a protective coating. Whether your trailer runs in rain, snow, or salt, bare steel will rust fast if left untreated.
- Clean All Surfaces: Use acetone or a degreaser to wipe down the axle. Remove oil, grease, or fingerprints.
- Prime the Surface: Use a rust-inhibiting metal primer. One even coat is usually enough if you’re using quality materials.
- Apply a Top Coat: Spray or brush on two coats of industrial-grade enamel or chassis paint. Avoid painting over threads or bearing surfaces.
Let the paint cure fully before handling. A rushed paint job can peel or bubble once exposed to the elements, and that only leads to rework later. Give it the time it needs to set right.
Step #8: Mount the Axle to Your Trailer
This is where all your hard work meets the real world. Mounting the axle properly ensures that your trailer rides evenly, tracks straight, and holds its load without stress. I’ve found that even when everything is built perfectly, mounting mistakes can undo all that effort in a matter of minutes
For Leaf Spring Mounting
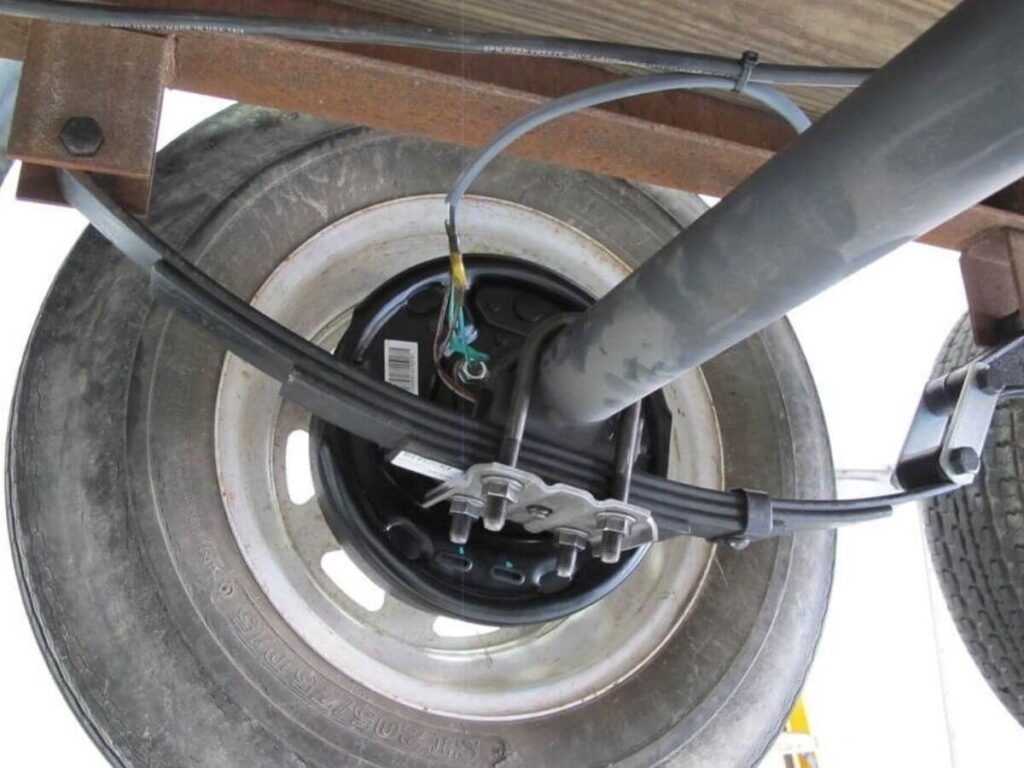
- Position the Axle: Place the axle under the springs and align the spring seats with the center pins.
- Secure with U-Bolts: Place the U-bolts over the axle and through the spring plates. Use washers and locknuts.
- Tighten Evenly: Torque the U-bolts in a crisscross pattern to pull the plates down evenly. Don’t overtighten—you could damage the spring.
For Torsion Axle Mounting
- Align the Mounting Brackets: Position the axle on the frame and match the bolt holes to your trailer’s pre-drilled holes or alignment marks.
- Use Grade 8 Hardware: Insert all bolts and torque to the manufacturer’s specification. Double-check that both torsion arms are at the same angle.
- Verify Clearance: Make sure the axle is centered left-to-right and that both wheels will have the same clearance from the trailer frame.
Step #9: Final Safety Checks Before Towing
This is the last and most important step before the trailer hits the road. I treat this part like a mini pre-trip inspection, even for brand-new builds. A few extra minutes here can save hours of roadside repairs or worse—costly damage from something that could’ve been avoided.
Complete Walk-Around Checklist
- Re-Torque All Fasteners: Go over spindle nuts, U-bolts, spring hangers, brake bolts, and wheel lug nuts. Use a torque wrench and follow manufacturer specs.
- Inspect Electrical and Brake Lines: Check for loose wires, missing zip ties, and exposed connectors. Look at the junction box, wiring to each brake, and the breakaway switch if applicable.
- Check Tire Clearance and Alignment: Spin each tire by hand and observe the clearance with the fenders, frame, and underbody. Everything should move freely without contact.
- Test Brake Operation: Plug into a brake controller or test box and engage the brakes. Make sure all brakes respond evenly and at the same intensity.
- Check Suspension Travel: Apply some downward pressure or load to confirm that leaf springs or torsion arms flex properly without binding.
- Drive Around the Lot: Go in a circle, make a few stops, and back up a bit. Listen for rattles, clicks, or dragging.
- Recheck Torque: After the short drive, recheck all the fasteners again. They often loosen slightly as everything seats into place.
- Final Look Over: Do a last visual inspection from both sides. Check paint, welds, wiring, and hub temperatures if you have an infrared thermometer.
If everything checks out, your axle is ready for real work. Whether it’s headed to a jobsite, a customer’s fleet, or out on a rental, you’ll know it was built with care and verified for safety.
Conclusion
You’ve seen the process from start to finish: tools, cuts, welds, tests, and safety checks. Everything you need to build a reliable trailer axle is right here.
I still remember how it felt to finish that first axle and watch it hold steady under a full load.
Why put it off any longer? Start building today.
What’s your biggest challenge with trailer builds? Is it time, confidence, or tools?
Let Rhinotrail help. Contact us today for semi-trailer solutions built around your business.

