One job site. One downpour. That’s all it took to ruin half the cargo I was hauling on my open utility trailer.
That day, I decided to build an enclosed trailer that actually worked for my business needs.
I’ve helped others do the same over the years. Whether for hauling tools, machines, or sensitive goods, the results were consistent. This guide is based on real-world work conditions, not theory.
Here’s what you’ll find. A practical guide to transform your open trailer into a weatherproof, enclosed trailer. By the end, you’ll know exactly what to do and what to avoid.
If you’re tired of quick fixes, this is the upgrade that sticks.
Let’s dive into it!
Step #1: Evaluate Your Utility Trailer
When I built my first enclosed trailer, I was eager to get started and skipped the inspection part. That mistake cost me a full weekend and an axle replacement.
Look for Structural Red Flags
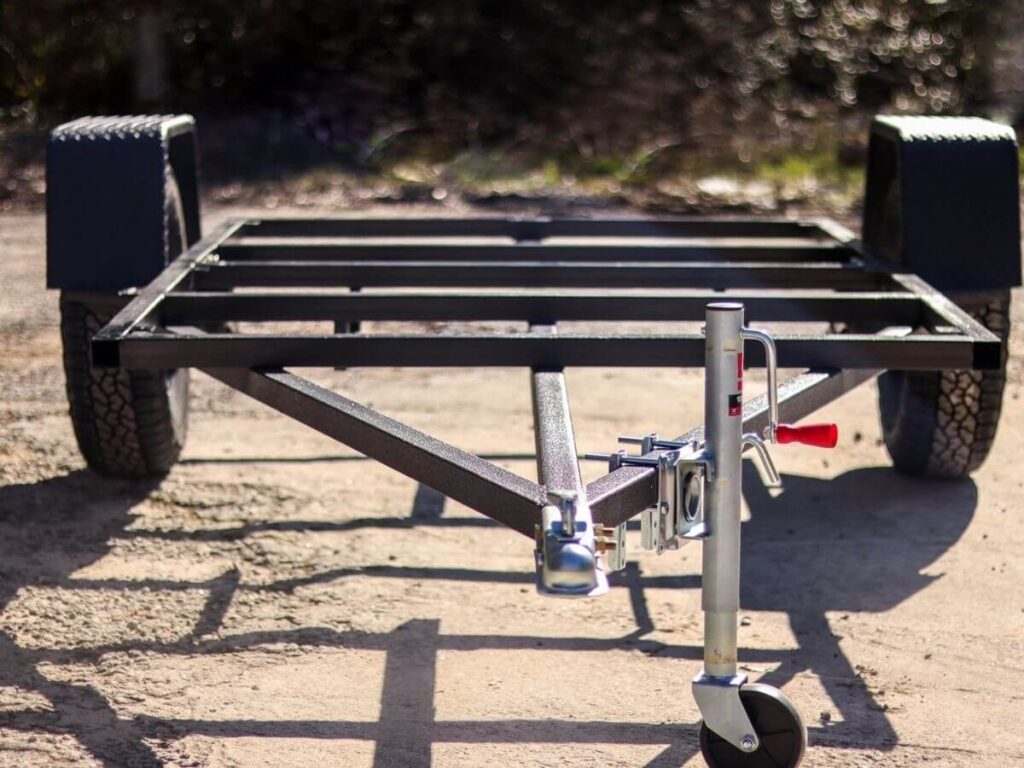
- Check the frame carefully for cracks, heavy rust, or bent sections. Small issues now can turn into major problems once the build begins.
- Measure corner-to-corner across the trailer. If the numbers don’t match, the frame isn’t square.
- Press down on the floorboards and feel for soft spots. Damaged flooring needs to be replaced before anything gets built on top.
- Inspect the suspension, axle, and tires. They need to handle extra weight once the enclosure is added.
Decide If It’s Worth Building On
- Think about how the trailer will be used. If you’re hauling tools, machines, or job site materials, the base needs to be solid.
- Look up the axle’s weight rating and compare it to your estimated finished load. A weak axle won’t hold up long-term.
- Make sure the trailer is registered and has a visible VIN. If not, legal use might be an issue after the build.
- Once you’re confident the trailer is a good candidate, remove old brackets, loose bolts, and anything else in the way.
Step #2: Plan Your Enclosure Design
Jumping into the build without a clear plan is one of the easiest ways to waste time and materials. It might feel like progress to start cutting panels or framing walls, but skipping the design stage usually leads to rework. A good plan doesn’t need to be complicated, but it does need to be practical.
Think Through the Trailer’s Purpose
- Start with the basics: what will the trailer actually be used for day to day? Knowing whether it’s for hauling tools, making deliveries, or protecting sensitive equipment will shape everything else about the build.
- Consider loading and unloading. Will you need a ramp for rolling equipment, or will side-access doors make things more efficient on a job site?
- Think about interior layout. For example, you might want shelves for small tools, hooks for cables, or tie-downs for machines.
- Measure how tall you need the interior space to be. If someone needs to walk in and out often, having head clearance makes a huge difference.
Sketch It Out and Note the Details
- A simple hand-drawn layout works just fine. Mark your dimensions clearly and include key features like door locations, vent positions, and roof pitch.
- Don’t forget weight distribution. Keep heavier storage or fixed equipment over or slightly forward of the axle for better towing balance.
- Plan for future upgrades, even if you don’t install them right away. Leave space for wiring, shelving, or insulation that could be added later.
Step #3: Gather Tools and Materials
With your trailer inspected and your design mapped out, now it’s time to gather what you need. This step might seem straightforward, but it’s where a lot of delays creep in. Missing tools or the wrong type of fasteners can slow the entire process and force extra trips to the hardware store.
Essential Tools to Have on Hand
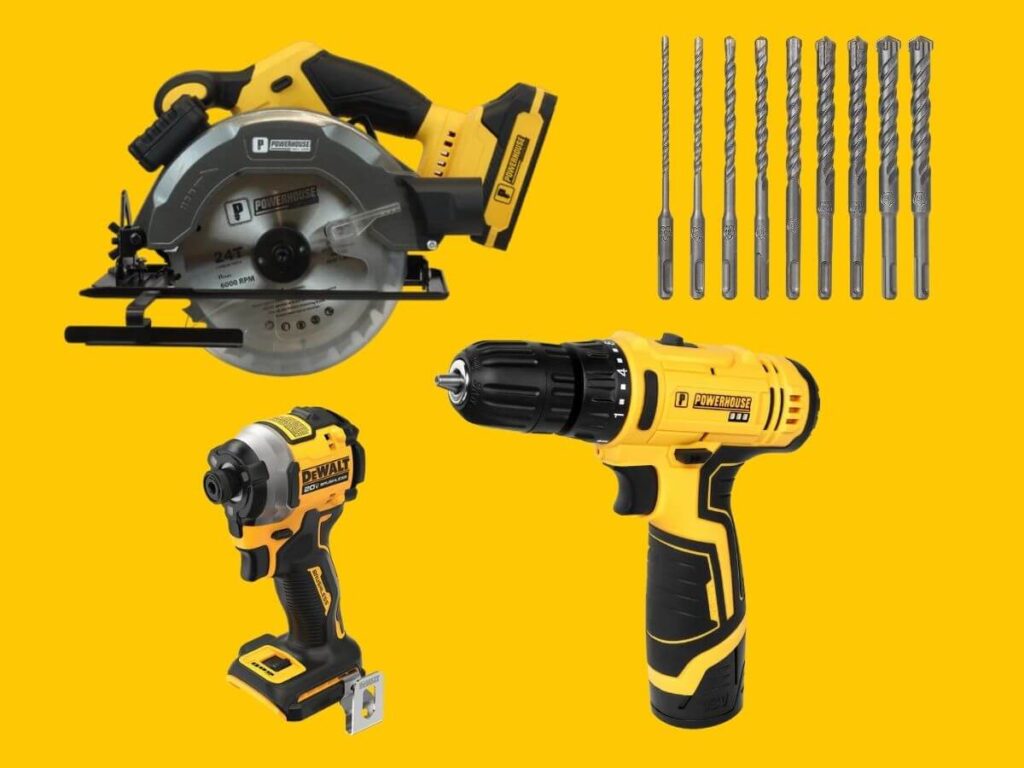
- You’ll need the basics: a circular saw, power drill, impact driver, and a solid set of drill bits. These will handle most of your framing and panel work.
- Clamps make a big difference during construction. They keep materials in place when working alone and help with squaring corners.
- Don’t forget safety gear. At minimum, have work gloves, safety glasses, and hearing protection ready from the start.
- Measuring and layout tools are often overlooked. A speed square, level, chalk line, and a long measuring tape will save you from alignment issues.
- If welding is part of your build, you’ll need a welder, helmet, wire brush, and proper ventilation. Welding can create a stronger, lighter build, but adds complexity.
Materials Based on Your Design
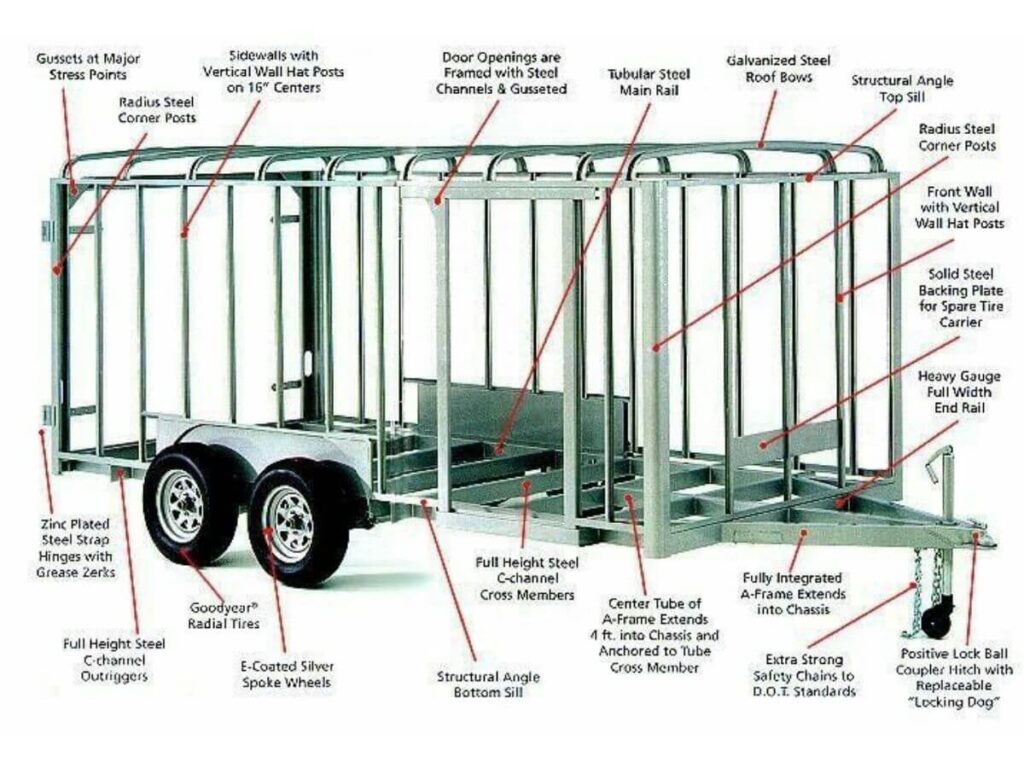
- Most builders use 2×2 or 2×3 lumber for framing, though metal tubing works well if you’re equipped for it. Choose a material that fits your tools and skills.
- For walls and roof panels, plywood is cost-effective and easy to work with. Metal panels or composite sheets can reduce weight but may cost more up front.
- Screws should be weather-resistant and long enough to hold securely through framing and sheathing. Self-tapping screws can save time with metal builds.
Step #4: Build the Frame
This is the part where things finally start to look like progress. Watching a flat utility trailer take shape into a functional enclosed unit is one of the most satisfying stages of the build. But how you frame it will determine how strong and long-lasting the finished trailer is.
Start with the Uprights and Corners
- Begin by placing vertical posts at each corner of the trailer. These should be securely fastened to the frame or outer rail, using bolts, brackets, or welds, depending on your materials.
- Use a level after every post. Even a small lean will affect the alignment of your walls, doors, and roof.
- Add extra verticals along the sides if your trailer is longer than 8 feet. This provides more support for panels and helps prevent flexing while driving.
- Brace the corners diagonally if possible. This adds strength against sway and wind when the trailer is moving or parked.
Connect the Top and Prepare the Roof
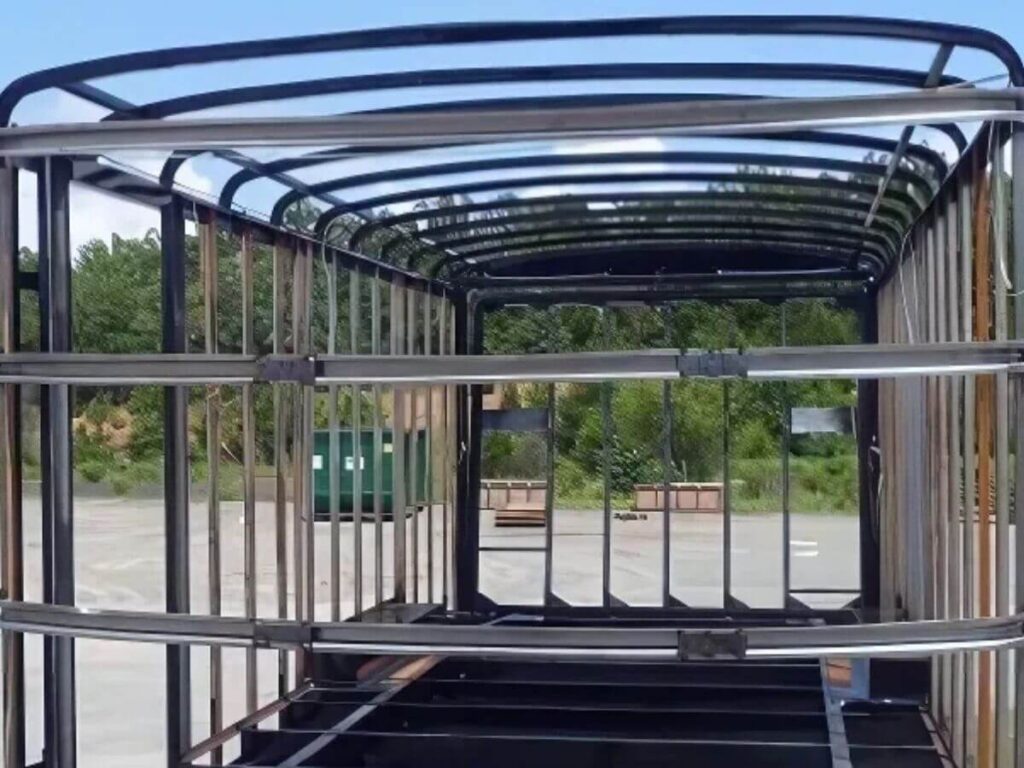
- Once the vertical posts are in place, install horizontal top beams to connect the structure. These form the perimeter of your roofline.
- Depending on your roof style, install rafters across the width of the trailer. A flat roof is easier to build, but a slight pitch helps with rain runoff.
- Use temporary supports if needed while fastening rafters. Working at height on an unstable frame can be risky without help or clamps.
- Check your measurements one more time before moving on. A well-built frame saves a lot of hassle when it’s time to fit panels and install doors.
Step #5: Add Walls and Roofing Panels
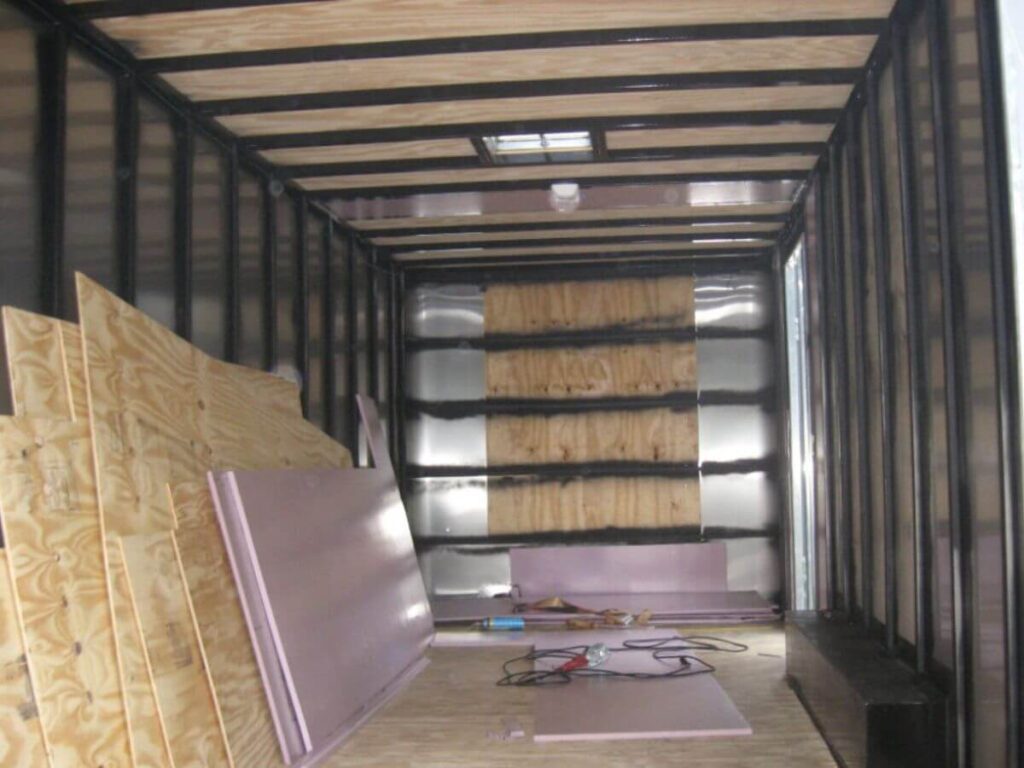
This step is where your trailer starts to look like a sealed unit. Whether you’re using plywood or metal, properly attaching your wall and roof panels will protect your cargo and give the build a clean, professional appearance. Take your time here, panel work is more about precision than speed.
Install Wall Panels First
- Start with one side and dry-fit each panel before securing it. This helps catch any gaps, misalignments, or warped materials early.
- Use weather-resistant screws and attach the panels directly into your frame supports. Keep the fasteners evenly spaced to prevent flexing and rattling later.
- Overlap the seams slightly or butt them tightly depending on your material. Apply construction adhesive at contact points for extra strength.
- Seal every edge with caulk or exterior-grade sealant. It’s easier to do this now than after the trailer is finished.
Move on to the Roof
- Roofing panels can be more difficult to install depending on trailer height and the type of material used. Work with a partner if possible to stay safe.
- For flat roofs, plywood sheeting is a simple solution. For sloped roofs, consider metal panels or rubber membrane to improve water resistance.
- Make sure every fastener goes into a rafter or top frame piece. Loose panels will cause leaks and noise once you’re on the road.
- When the roof is finished, step back and look for gaps, bulges, or uneven surfaces. Catching issues now is better than discovering them during a storm.
Step #6: Install the Door(s)
This part of the build has a big impact on how usable your trailer will be. A poorly installed door can lead to leaks, alignment issues, or even security problems on the road. Taking the time to build a solid door setup will save headaches every time you load or unload.
Choose a Door Style That Matches Your Needs
- Think about what you’ll be hauling. A ramp door is great for rolling gear, while double swing doors work well for loading by hand.
- Side-access doors add convenience if you need to grab tools or supplies without opening the main rear doors. This also improves workflow on job sites.
- Measure the door opening carefully before building. Frame it with enough clearance to allow for movement, sealant, and hardware.
- Make sure the trailer floor is level and the wall is square. Even a small tilt can throw off the door alignment.
Build and Install With Security in Mind
- Construct the door using the same panel material as your walls, backed by framing for strength. Keep it lightweight but sturdy.
- Use heavy-duty hinges rated for outdoor use. Bolt them securely into the frame and test the swing before final tightening.
- Add weather stripping along the edges to block rain, dust, and road debris. This small step adds long-term protection for your cargo.
- Finish with a quality latch or lock system. Depending on your business, you might also want a hasp and padlock or internal locking bar.
Step #7: Wiring and Ventilation
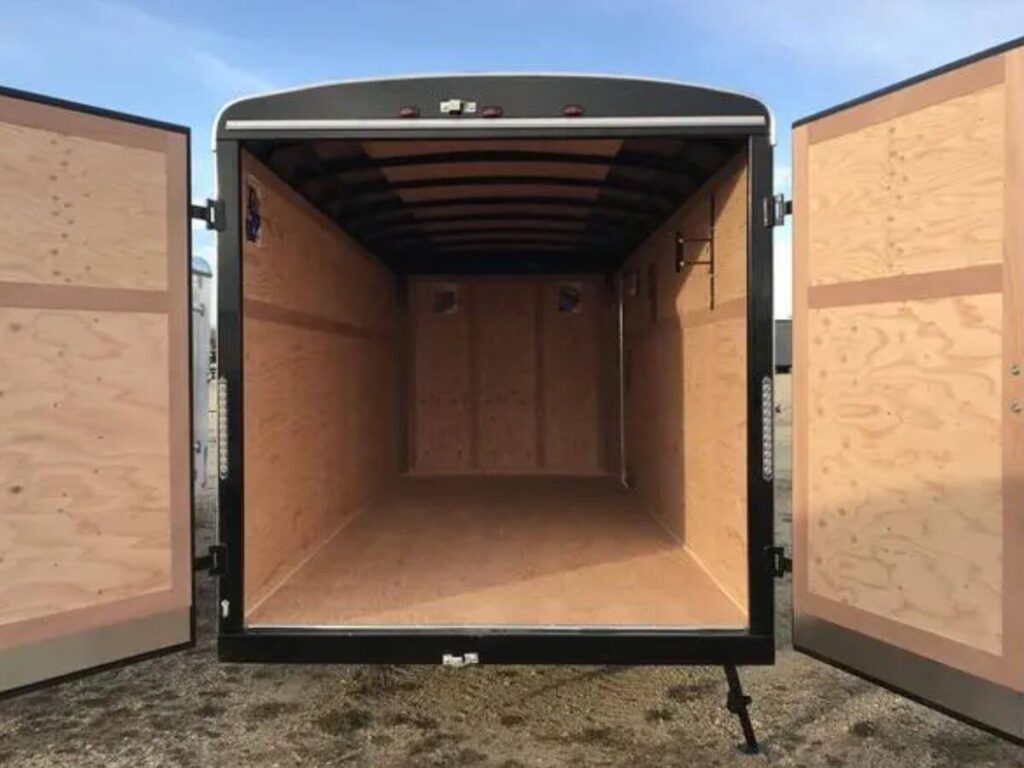
Once the enclosure is sealed up and the doors are working, it’s time to make the interior usable. Proper wiring and ventilation can make a big difference in how effective and comfortable your trailer is on the job. Even a basic setup can improve visibility, airflow, and safety.
Add the Right Type of Ventilation
- Good airflow helps prevent moisture buildup and keeps the interior cooler during long hauls. Start by installing passive vents near the roofline.
- Side vents can be installed toward the back or front, depending on how air naturally flows through your trailer. Use pre-made louvered vents or RV-style kits.
- Roof vents with covers are another option if you want to let hot air escape. Make sure they’re watertight and mounted securely to prevent leaks.
Plan and Install Your Wiring System
- If you need interior lighting, map out where lights, switches, and the power source will go before running wires. This avoids having to drill through finished walls later.
- LED strip lights are a popular choice for trailers. They’re low-draw, bright, and easy to mount on ceilings or walls.
- For power, you can connect to a deep cycle battery or tap into your tow vehicle’s power system. A separate battery box gives more flexibility if you need lights when unhitched.
- Use wire grommets and conduit where wires pass through framing. This protects the insulation and reduces the risk of electrical shorts on rough roads.
Step #8: Paint, Seal, and Finish
This step often gets rushed, but it’s what protects your build from weather, wear, and time. A good finish doesn’t just make the trailer look clean, it keeps the structure dry, reduces rust, and extends the life of your work. Set aside a full day or two for this stage.
Seal and Protect All Surfaces
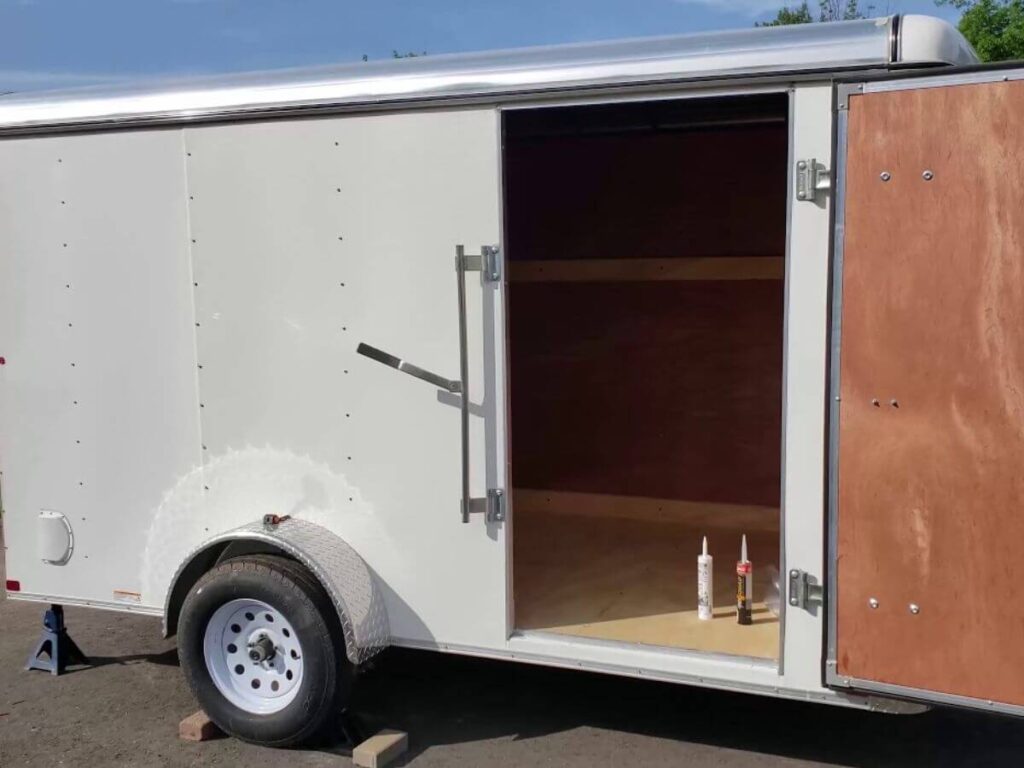
- Start by sealing all seams and screw holes with exterior-grade caulk. Go over panel joints, roof edges, door frames, and vent areas.
- Use a primer if you’re painting bare plywood or metal. This helps the paint stick better and reduces peeling over time.
- Apply at least two coats of high-quality exterior paint. Choose a light color if your trailer will be in the sun often, as it reflects more heat.
- For metal trailers, consider a rust-preventive base coat first. This adds another layer of protection, especially underneath or near wheel wells.
Install Finishing Touches
- Add reflective tape, brake light covers, and any required DOT markings if you’ll be using the trailer on public roads. This improves visibility and keeps you compliant.
- Mount any interior shelving, tool racks, or cargo tie-downs now. It’s easier to work inside once the painting and sealing are complete.
- Check all hardware one last time, door latches, hinges, light brackets, and handles should all be tight and rust-free.
- Clean up any leftover caulk, paint drips, or dust. A tidy finish reflects the quality of the build and looks more professional for your clients or partners.
Step #9: Final Safety Check and Road Test
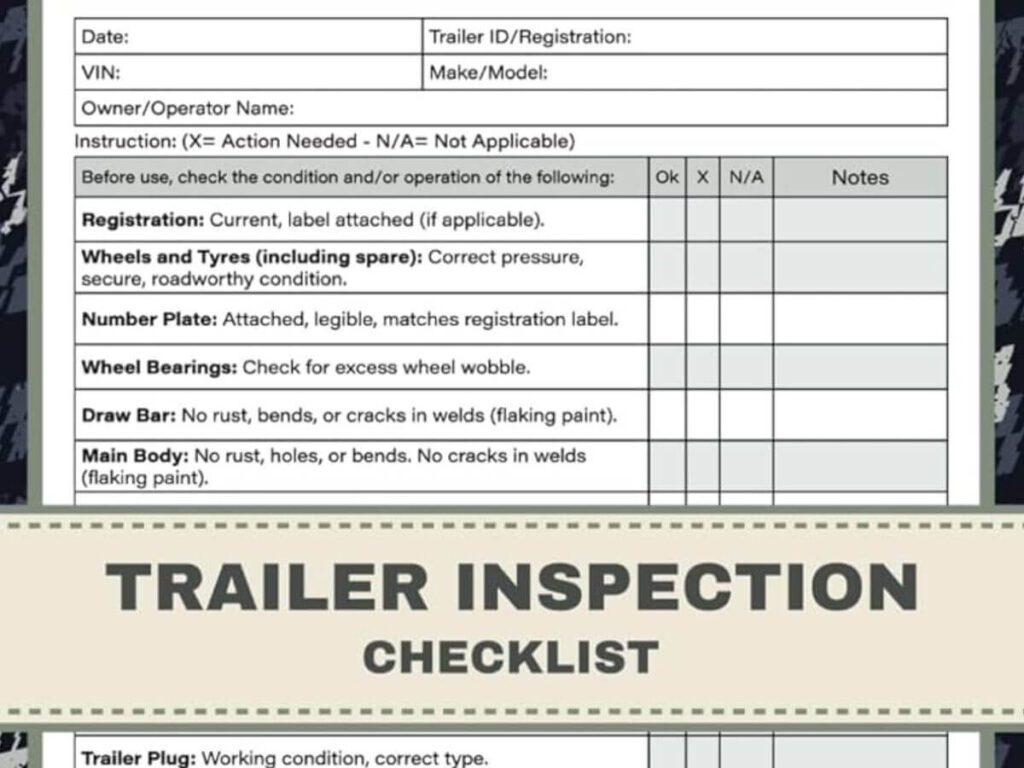
Before the trailer hits the road, it needs a thorough check from top to bottom. This step confirms that the build is not just finished, but road-ready and safe. It’s tempting to skip straight to use, but one missed bolt or loose latch can cause big problems.
Inspect Everything Before You Move It
- Walk around the trailer slowly and inspect every seam, corner, and fastener. Shake panels, tug on handles, and test the doors.
- Check that all lights work: brake lights, turn signals, running lights, and interior lighting if wired. Fix any wiring issues now to avoid traffic stops later.
- Verify that your tires are properly inflated and load-rated for the added weight. If they show signs of wear, replace them before towing.
- Make sure the trailer is sitting level and balanced. Too much weight on the back or one side can affect handling and safety.
Take a Short Test Run
- Hitch the trailer up and take it for a short drive around the block or an empty parking lot. Listen for rattles, creaks, or any unusual movement.
- Test the braking and turning response at low speeds. If the trailer sways, feels unstable, or pulls to one side, it may need load adjustments or additional bracing.
- Re-check everything after your test run. It’s common for bolts to settle or panels to shift slightly during the first drive. Tighten and correct anything that moves.
Conclusion
That old open trailer of mine? It’s long gone.
But what I learned from turning it into something functional still sticks with me.
You’ve got the plan. The steps. The mindset.
Got questions about your setup or need a new base trailer?
Contact Rhinotrail today. We help businesses like yours build better every day.


