I started my rental business with zero trailers and one handshake deal. The customer picked up a borrowed trailer from a buddy of mine, and I pocketed 60 bucks. That was my first taste of the rental model.
It lit a fire. If I could do that once, I could do it a hundred times.
This guide is built from my experience getting a trailer rental business off the ground with limited resources. I’ve simplified the steps, cut out the fluff, and focused on what gets results.
You’ll get a full walkthrough. From permits and insurance to picking trailers and locking down steady demand. If you’re serious about starting this business, you’ll find what you need here.
Let’s get into it!
Step #1: Research the Market and Validate Demand
When I started looking into utility trailer rentals, the first thing I did was scout my area. I wanted to see if people were already renting trailers, what they were renting, and how often. I checked out local rental companies, browsed community boards, and even asked a few contractors what they were using. If you see a few rental yards that always seem busy, that’s usually a sign you’re onto something.
Before you invest in trailers, take time to understand your local market. A rental business isn’t something to jump into based on a hunch. You need facts, trends, and local feedback.
- Study your competition: Look at existing rental companies. What types of trailers are they offering? Are they general-purpose, enclosed, flatbed? Do they offer hourly, daily, or weekly rates? What kind of customers are they targeting? This helps you find a gap or underserved group in the market.
- Talk to potential customers: Contractors, landscapers, small movers, farmers, each has different needs. Ask them what types of trailers they rent, how often, and what they wish rental companies did better. Sometimes a single pain point, like inconvenient hours or poor trailer condition, can give you a clear edge.
- Check seasonal trends: Are there certain times of year when demand spikes? For example, spring might bring in landscapers while fall could see more DIY movers. Knowing this helps you plan inventory.
Use this step to gather real-world data, not guesses. You want to know there’s real local demand for utility trailers. This kind of research lays the foundation for everything else you build.

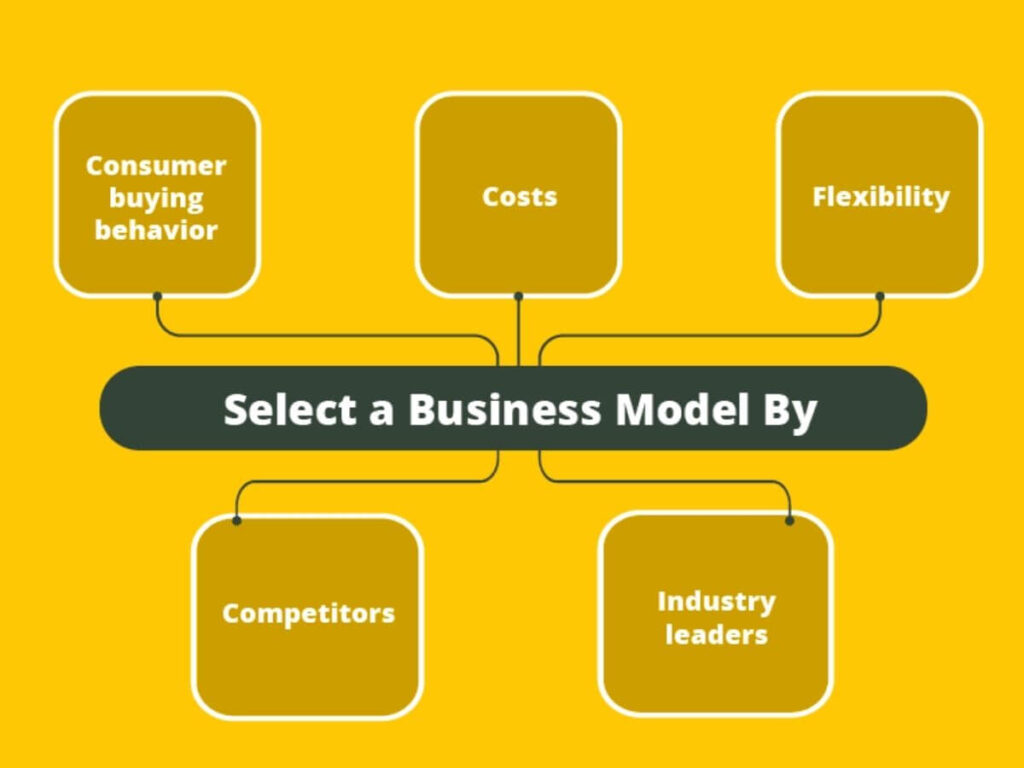
Step #2: Choose a Business Model
One of the key decisions is figuring out how you want to run the business. I started small with a few trailers parked in a secure lot and offered pickups by appointment only. Some people go mobile and deliver trailers. Others partner with existing businesses like hardware stores or gas stations.
There isn’t one “right” model, but there is one that fits your situation best. How hands-on do you want to be? How many trailers can you realistically manage in the beginning?
- Owner-operator model: You own and manage everything yourself. Great for control and lower costs but demands more of your time. You do the scheduling, inspections, cleaning, and customer support.
- Fleet rental model: You invest in multiple trailers and possibly hire staff to manage bookings, maintenance, and customer service. This model suits those looking for long-term growth or who want to scale quickly.
- Partnership model: You collaborate with a location that already gets foot traffic, like a gas station or equipment store, and offer trailer rentals from their lot. They get a cut, you get visibility. It’s a smart move if you want passive visibility without paying for retail space.
The model you choose influences your overhead, staffing, and marketing approach. Think about how you want to operate not just now, but a year or two down the road.
Step #3: Create a Business Plan
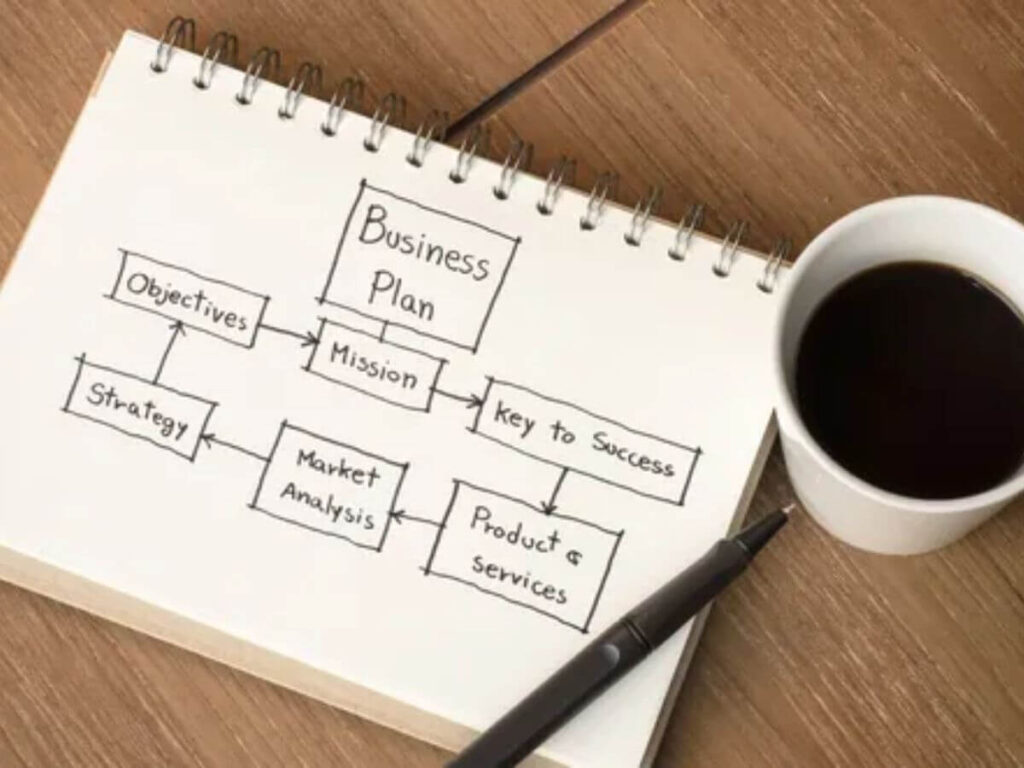
I can’t stress this enough: don’t skip the business plan. Writing one helped me see where I might hit snags and where the real profit could be. It doesn’t have to be a fancy document, but it should answer the important questions. Without a plan, you’re flying blind.
A good plan keeps you on track and ready for growth.
- Define your services: Will you offer only utility trailers? What about accessories like straps, hitches, or loading ramps? Are you renting enclosed trailers or flatbeds? Will you allow one-way rentals or only round trips?
- Project your costs and revenue: List startup costs like trailer purchases, insurance, storage lot rent, website setup, marketing, and maintenance. Then forecast rental income based on the demand research from Step 1. Be honest with your numbers, better to overestimate costs and underestimate revenue than the other way around.
- Outline your marketing strategy: How will people find you? Are you focusing online, offline, or both? Will you spend money on ads or grow through local partnerships and word of mouth?
- Include a growth plan: Where do you want the business to be in one year? Three years? Will you expand your trailer fleet, hire staff, or open another rental site?
Having a plan makes decision-making easier and keeps you focused during slow seasons or unexpected hurdles.
Step #4: Handle Legal and Regulatory Requirements
This part isn’t glamorous, but it’s necessary. When I got started, I had to register the business, apply for permits, and get the right insurance. Missing one step here can delay everything. You want your legal side clean from day one.
Get your paperwork in order early.
- Register your business: Pick a legal structure (LLC, sole proprietorship, etc.) and file with your state. An LLC can protect your personal assets and looks more professional when dealing with customers and banks.
- Check local permits: Some cities require special operating licenses for vehicle rentals. Others may have zoning rules about running a business from home or storing trailers on your property.
- Get commercial insurance: Cover your trailers, liability, and any property you operate from. Ask your agent about coverage for theft, damage, and personal injury claims. Trailer rental has its risks, so don’t cut corners here.
- Draft legal agreements: Work with an attorney to create a rental contract that covers damages, late returns, theft, and liability. Make sure your terms are easy to understand but legally strong. Having customers sign a clear agreement protects both sides.
Taking the time to set this up now saves you from bigger headaches later.
Step #5: Acquire Utility Trailers and Equipment
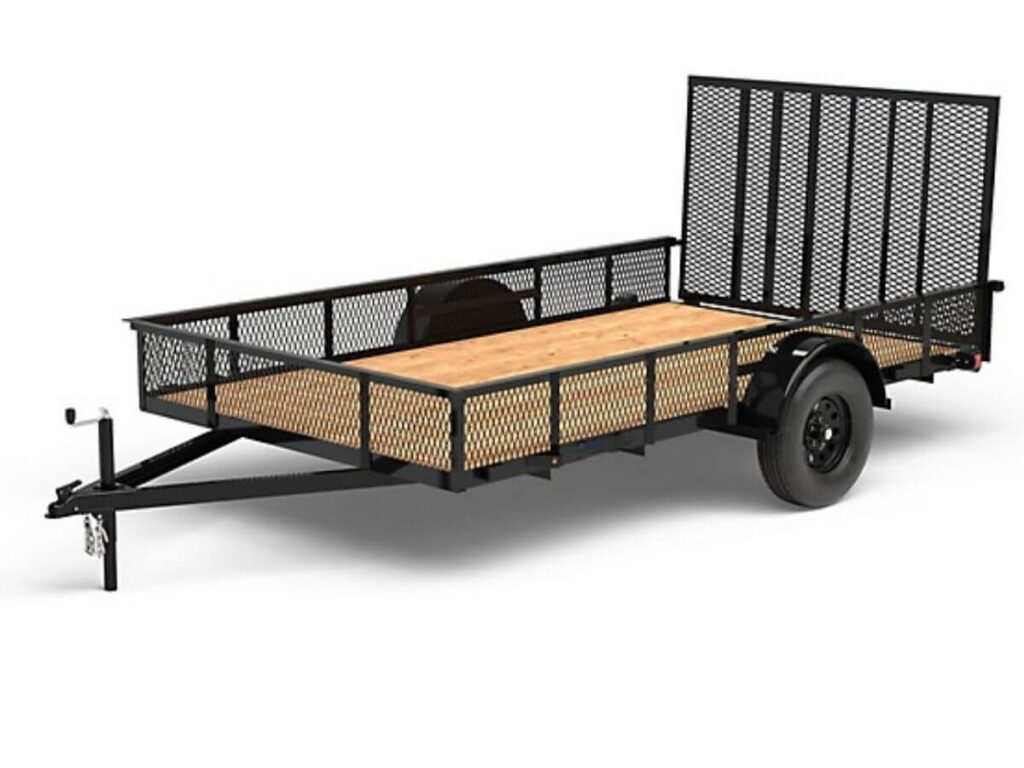
Buying your first trailers is exciting, but also tricky. I started with two used trailers that were in good shape, and I made sure they had proper lighting, tags, and clean titles. New trailers are great, but used ones can get you started for less.
Focus on utility and reliability.
- Start with popular sizes: 5×10 and 6×12 trailers are often in high demand. They cover most hauling needs. You can add specialty trailers later once you better understand what your customers want.
- Buy from trusted sellers: Whether it’s a dealer or private party, inspect everything: tires, brakes, axles, floor condition, and lights. A trailer that needs repairs is money lost.
- Get the extras: Tie-down straps, spare tires, trailer locks, and hitch adapters all add value for your customers. Think about what would make someone choose your trailer over the one down the street.
- Don’t forget maintenance tools: You’ll need basic tools for grease jobs, wiring fixes, tire changes, and general upkeep. Plan space and time for regular maintenance checks.
Your first trailer purchase sets the tone for your reputation. Start smart.
Step #6: Set Up Pricing and Rental Policies
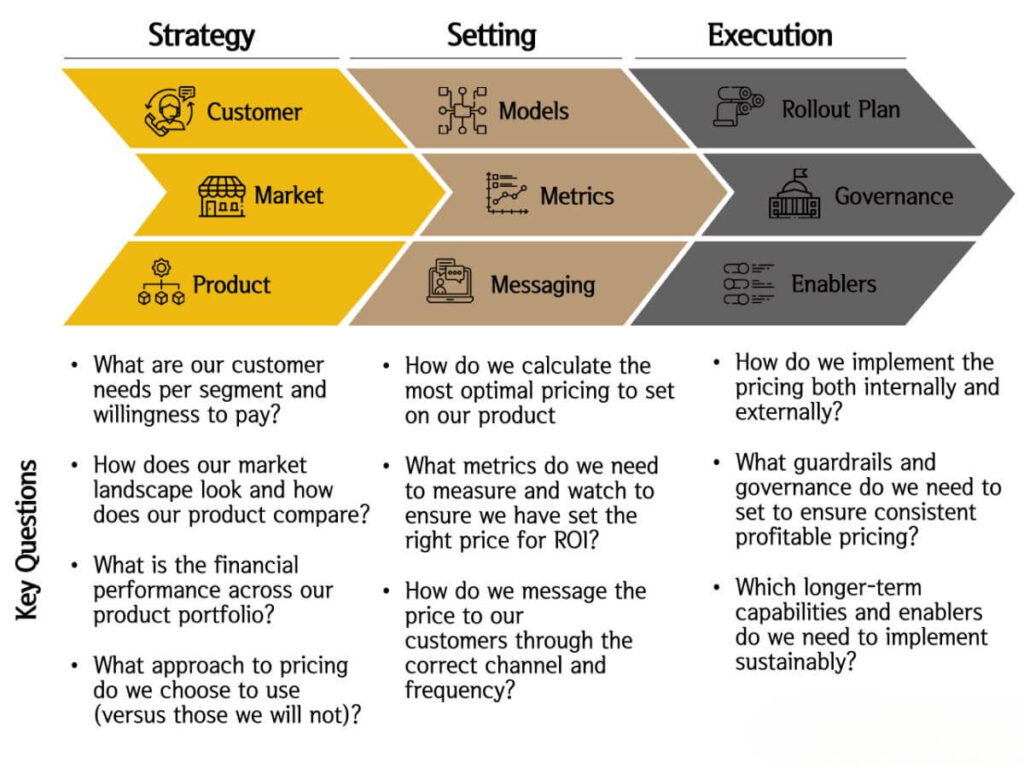
Setting prices was a challenge at first. I had to balance what people were willing to pay with what would actually cover my costs. I checked what competitors were charging and adjusted based on my trailer size and flexibility.
Clear policies prevent misunderstandings and lost income.
- Create tiered pricing: Offer half-day, full-day, and weekend rates. Bundle accessories if needed. Offer discounts for long-term rentals.
- Set deposit and late return fees: Make policies simple but firm. Require valid ID and a signed rental agreement. Some folks will try to stretch their return time, you need clear fees to discourage that.
- Decide on delivery options: Will you drop off trailers or require pickup only? Charge accordingly. Some businesses love delivery because it saves them time.
- Document everything: Take photos before and after each rental. Note any scratches, dents, or damages. This protects you from disputes later.
The more you spell out upfront, the fewer surprises come your way.
Step #7: Build Your Brand and Online Presence
Your brand is more than a logo. It’s how people perceive your business. When I built my website, I kept it simple: trailer availability, contact info, and a few solid photos. I also listed on Google Maps and local directories.
Being visible online helps people find you when they need a trailer.
- Build a simple website: Include pricing, rental terms, location, and booking options. Make sure it works on mobile, many people book on the go.
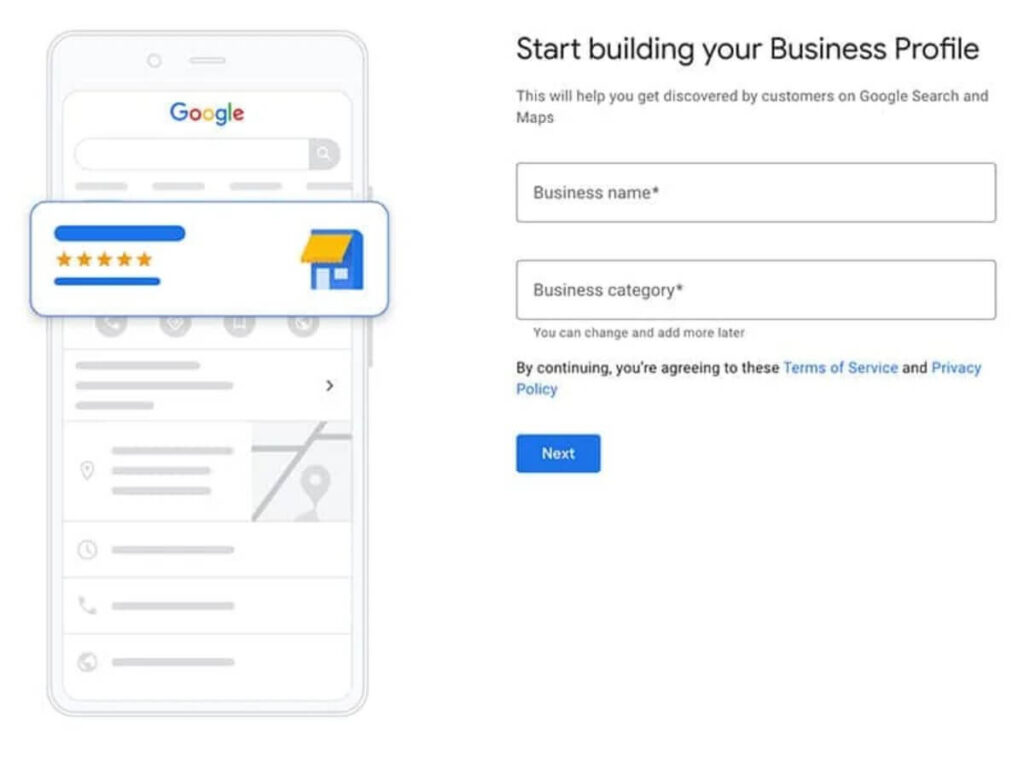
- Set up Google Business Profile: This helps with local searches. Add your hours, photos, and location. Ask customers to leave reviews here.
- Use social proof: Ask happy customers to leave reviews. Post before-and-after photos of trailers that were rented out. Show people what they can expect.
- Use consistent branding: Same colors, fonts, and tone across your site, signs, and forms. It builds trust and makes you look professional.
You don’t need a marketing degree. You just need to show up online the way your customers expect.
Step #8: Market Your Trailer Rental Business
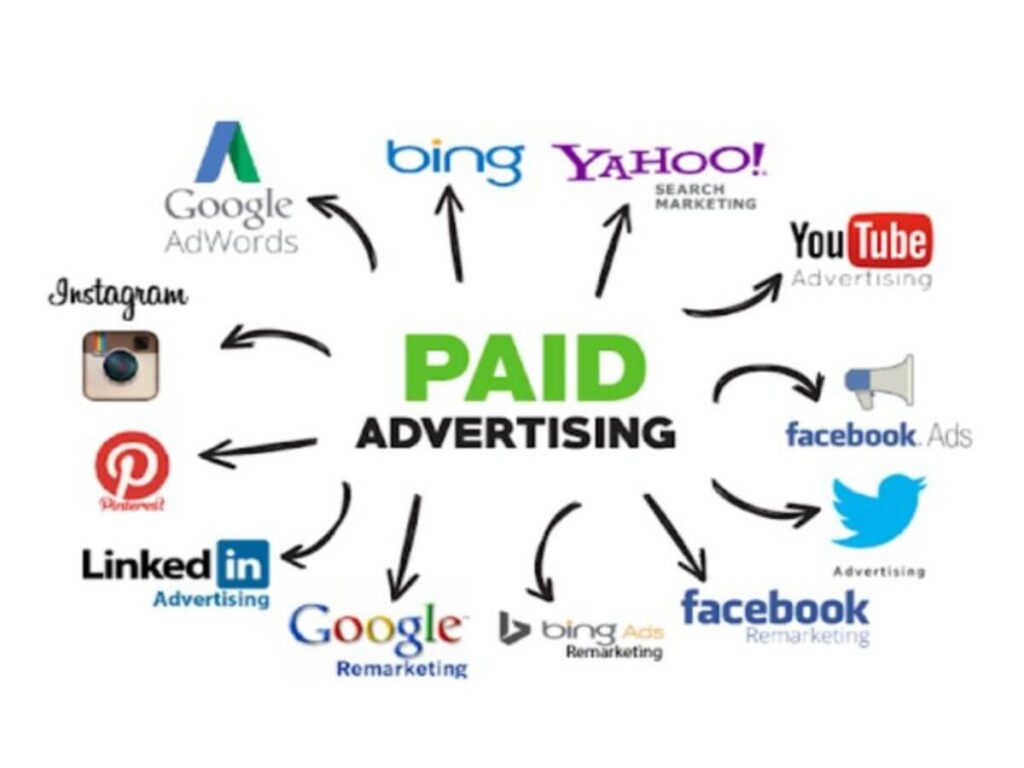
When I started, most of my business came from local Facebook groups and word of mouth. Eventually, I added Google Ads and flyers at supply stores. Marketing doesn’t have to be expensive, but it does have to be consistent.
Find the channels your customers already use.
- Use local advertising: Post in community groups, list on Craigslist, and print flyers for bulletin boards. Go where your audience already is.
- Network with businesses: Connect with contractors, landscapers, and real estate companies. Offer discounts for referrals. Drop off business cards where it makes sense.
- Try paid ads carefully: Test small budgets on Google or Facebook Ads to see what brings in calls. Start with a $100 test and measure the results.
- Offer promotions: First-time renter discounts, referral bonuses, and seasonal specials can drive interest fast.
You don’t need to be everywhere. You just need to be visible in the right places.
Step #9: Manage Operations and Customer Service
Running the business day-to-day takes effort. I learned quickly that keeping trailers clean, scheduling pickups, and answering calls promptly made a huge difference. Customers don’t remember flashy ads. They remember if you showed up on time and answered their questions.
Good service turns first-time renters into regulars.
- Keep trailers clean and ready: Inspect after each return. Fix issues fast to avoid downtime. Nobody wants to rent a trailer full of dirt or broken lights.
- Use simple systems: A spreadsheet or booking tool helps track who has what and when it’s due. Don’t overcomplicate it.
- Stay responsive: Answer inquiries quickly. People often rent trailers last-minute. A fast reply can win you the job.
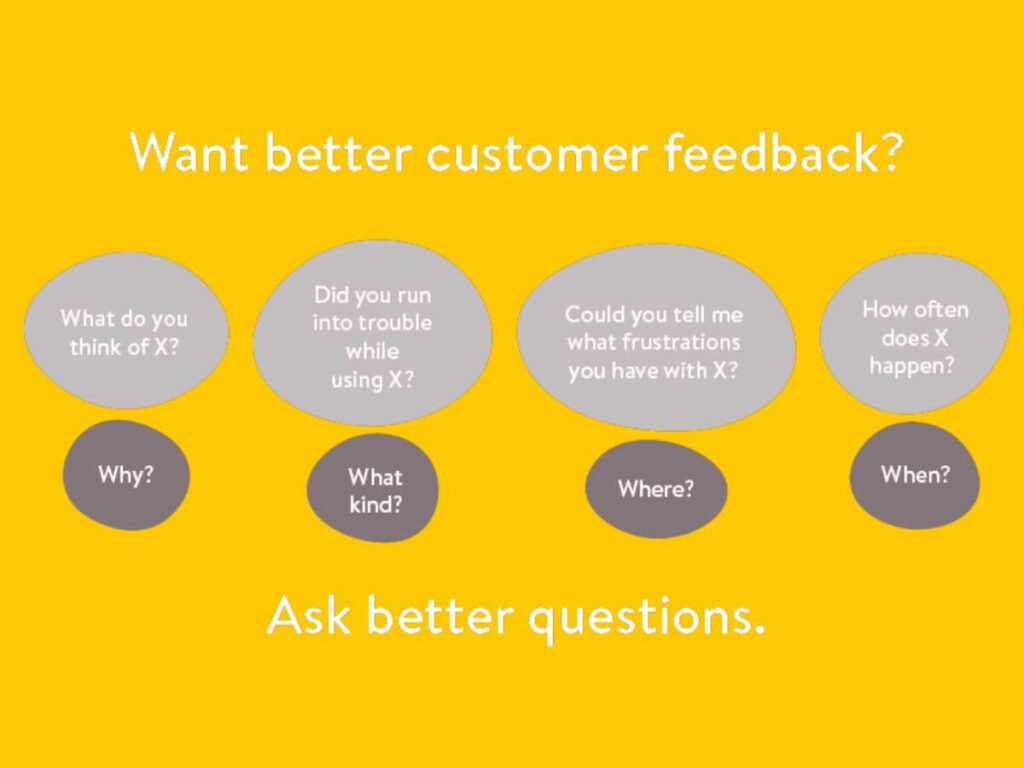
- Collect feedback: Ask customers what worked and what could be better. Use that to improve. If you mess up, own it and fix it. That builds long-term trust.
As you grow, look into tools for invoicing, scheduling, and fleet tracking. But in the beginning, strong basics win.
Conclusion
This isn’t just a side hustle. It’s a smart, flexible business that solves real problems.
You now know how to research, plan, buy, price, and grow. You’ve got the knowledge and what you need next is action.
I turned a few simple rentals into reliable cash flow. So can you.
What would your business look like one year from today?
Contact Rhinotrail today and let’s help you get the trailer side covered, so you can focus on growing the rest.


