A mining contractor once asked me why his trailers kept cracking under load. He thought it was bad luck. But after I inspected one of them, I knew the problem right away: weak welds and poor steel choice during manufacturing.
That’s not luck. That’s a factory cutting corners.
I’ve spent over a decade working with trailer builders and heavy-equipment buyers. I’ve watched trailers being built from scratch—steel to final paint. I’ve helped clients pick models that last years without issue.
In this article, I’ll show you the full trailer manufacturing process. You’ll understand each stage and how it affects quality.
By the end, you’ll know what to look for, what to ask, and how to tell a strong trailer from a weak one.
So let’s get down to it!
Step# 1: Design & Engineering
The trailer building process starts long before any steel is cut. It begins in the design office.
This step turns transport needs into a working trailer. Every size, joint, and part has to be planned first. I’ve watched engineers spend days going over a single axle layout. Why? Because one wrong move here can lead to breakdowns on the road later.
Let’s walk through how this stage really works.
Building the Trailer Digitally
The first thing the engineers do is open CAD software—short for Computer-Aided Design.
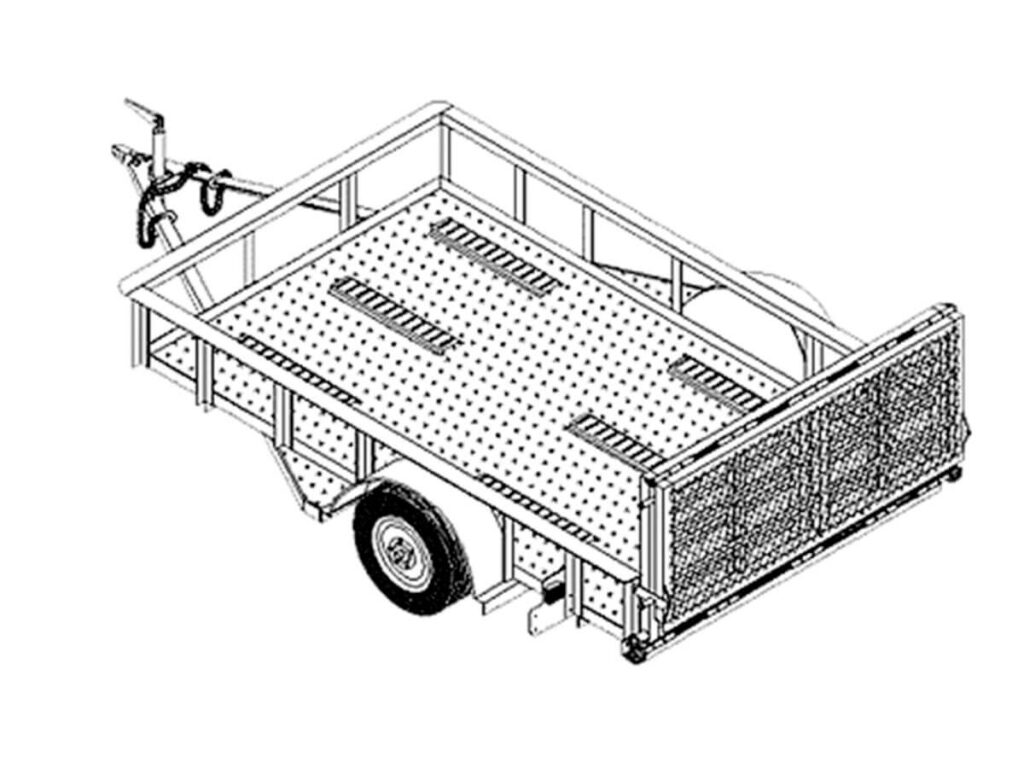
They draw the full trailer in 2D and 3D. That includes the chassis, axles, suspension, floor, brakes, and more. This is where the trailer starts to take shape.
It’s like building the trailer on a screen before building it in steel.
They use this digital model to test how the trailer will move, bend, and carry weight. If something looks off—like too much stress on the frame—they go back and adjust the layout.
Running Strength Tests (Without Breaking Anything)
Once the model looks right, the team runs it through a tool called FEA—Finite Element Analysis.
This software cuts the model into thousands of small pieces. Then, it applies pressure, twists, and load simulations to see how each piece behaves.
Think of it like shaking the trailer before it’s built—to find weak spots early.
If a certain joint or beam looks like it could fail, they reinforce it in the design.
Checking the Rules
Now comes the legal part.
The design has to match local and international transport laws. These rules cover things like:
- Axle load limits
- Trailer height and width
- Brake system setup
- Lighting and reflectors
If the trailer doesn’t pass these checks, it can’t be used on public roads. The design team will revise it again until it meets every rule.
Planning the Materials
Once the design is approved, the team creates a Bill of Materials (BOM). This is a full list of every part needed to build the trailer.
That includes:
- Steel type and thickness
- Floor material (like checkered plate or hardwood)
- Suspension system (air or mechanical)
- Landing gear, kingpin, axles, tires, and more
This list is handed to the procurement and production teams to prepare for the next stage: fabrication.
Design and engineering isn’t just a first step—it’s the foundation.
If this part is weak, the whole trailer will be too.
Step# 2: Material Sourcing
Once the trailer design is finished, the next step is getting the right materials.
This part may not sound exciting—but it matters. A lot.
I’ve seen trailers that looked fine on the outside but failed early because the steel was low-grade or the axles came from a cheap supplier. One customer I worked with had brake drums crack just six months in. Why? The supplier cut corners on materials.
Ordering Core Materials
First, the purchasing team takes the bill of materials created during the design stage. This list tells them exactly what to buy—type, size, grade, and quantity.
They place bulk orders for:
- High-tensile steel for the main frame and cross-members
- Aluminum sheets for lightweight parts like side panels or toolboxes
- Wood or checkered steel plate for flooring
- Welded or forged parts, if any, like kingpins or landing gear supports
Steel is often ordered directly from mills. In some cases, it comes pre-cut into standard sizes. Larger factories may keep common parts in stock to save time.
Sourcing the Components
Next, they contact approved suppliers for trailer components. These are parts that aren’t made in-house:
- Axles
- Brake systems
- Suspension sets (air or mechanical)
- Tires and rims
- Electrical wiring and lights
Each part is matched to the trailer’s design specs. For example, if the trailer has a 13-ton axle requirement, the supplier sends components tested for that weight.
Receiving and Checking
When materials arrive, they don’t go straight to the floor.
First, they go to incoming inspection. Workers check:
- Steel sheets for thickness and damage
- Axles for serial numbers and defects
- Lights and wiring for function
- Certificates for steel and critical parts
This is where material traceability begins. Every item is tagged with a code so the factory can track where it came from and which trailer it goes into.
If something fails inspection, it gets rejected and sent back.
Material sourcing might sound like paperwork and deliveries. But this step builds the base for a safe trailer.

Step# 3: Chassis Fabrication
Now that all the materials are in, the real building begins.
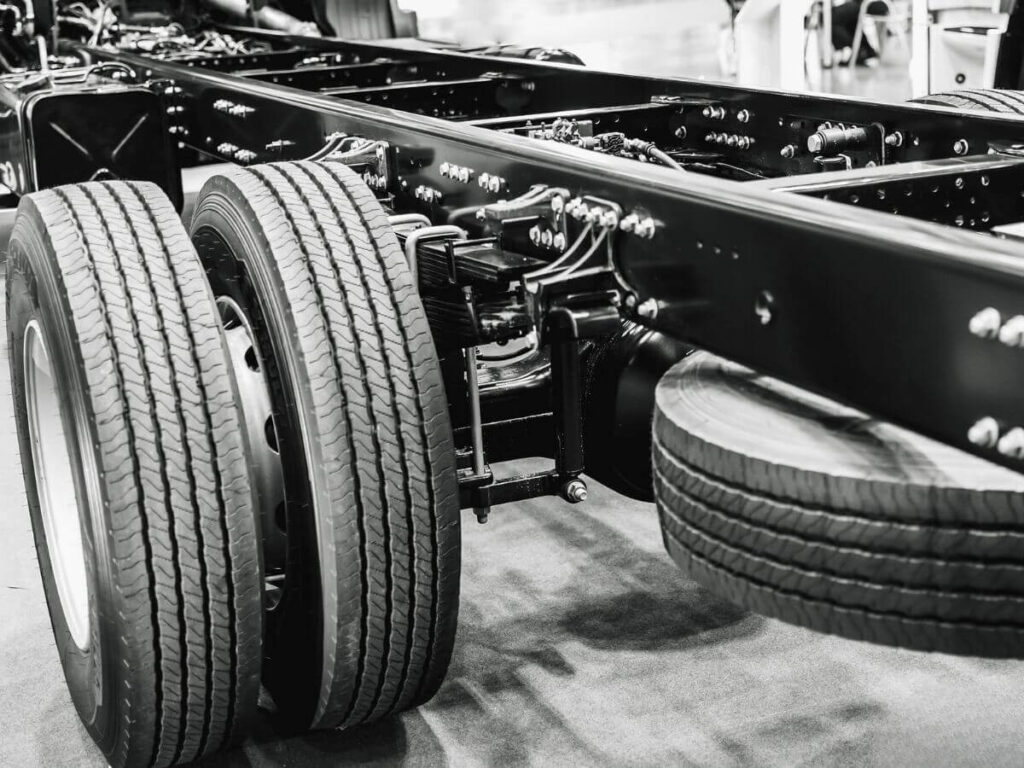
It starts with the chassis—the base of the trailer. This is what everything else connects to. If the chassis isn’t right, the whole trailer fails.
I once visited a workshop where a trailer was scrapped halfway through. Why? The frame was off by just a few millimeters. That small mistake meant nothing lined up properly later. It was a costly fix.
Cutting and Shaping Steel
The fabrication team starts by cutting high-tensile steel beams.
They use machines like:
- Plasma cutters
- Laser cutters
- Hydraulic shears
Each beam is shaped to match the design specs—length, angle, and notches. Workers label and sort every part so they’re ready for assembly.
Assembling the Main Frame
Once parts are ready, workers lay out the frame on a flat platform.
Depending on the trailer type, the chassis might use:
- An I-beam design (for flatbeds and container chassis)
- A gooseneck structure (for lowbeds or step decks)
- A spine beam (for light-duty trailers)
Welders tack the pieces together first. Then, they do full welds, section by section.
Checking for Straightness and Strength
After welding, the frame is measured.
This step checks:
- Alignment from front to back
- Height at each point
- Diagonal balance
If something is off, it’s corrected before moving forward.
Every weld is inspected. Some factories use ultrasonic tools or magnetic particle tests to find hidden cracks. Others rely on experienced eyes and pressure tests.
Chassis fabrication may look simple. But it’s the backbone of the trailer. One mistake here can throw off the whole building.
Step# 4: Axle, Suspension & Undercarriage Assembly
Once the chassis is complete and fully checked, the focus shifts to the bottom of the trailer—the undercarriage.
This is where strength meets movement. It’s also one of the busiest parts of the assembly process.
I remember watching a team install a tri-axle setup on a heavy-duty trailer. Everything looked smooth until one bracket didn’t line up. Just 5 millimeters off—and they had to stop and grind it down. That small gap could’ve caused uneven tire wear or axle damage down the road.
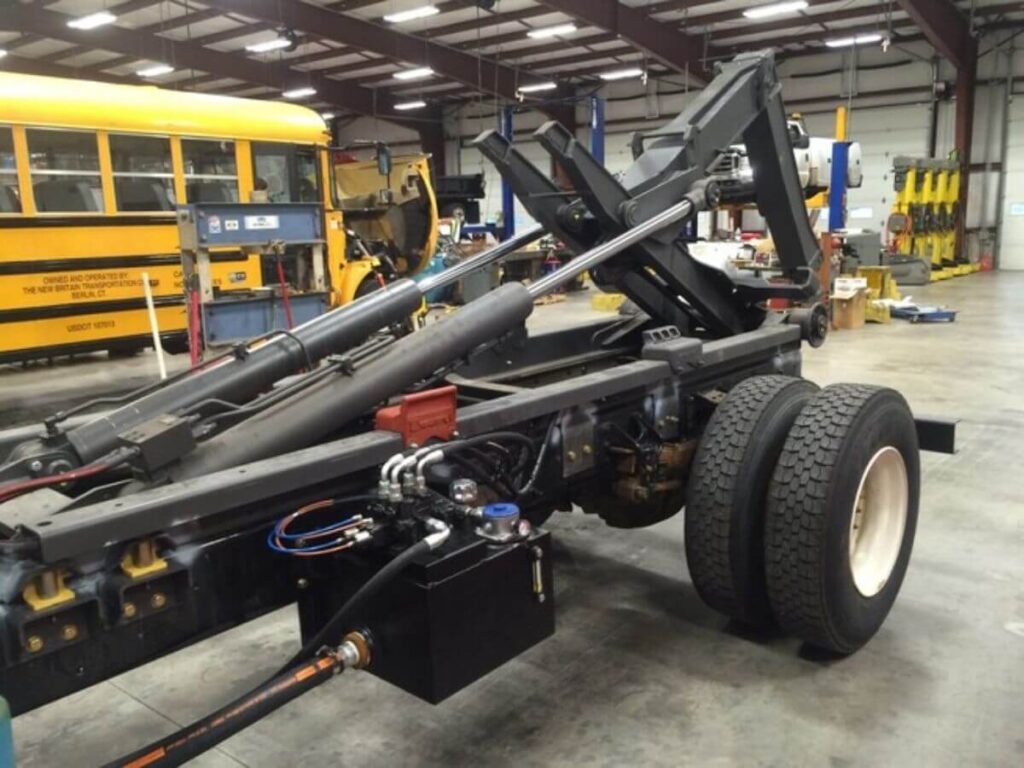
Mounting the Axles
The assembly team begins by lifting the trailer frame with supports.
Then they install the axles—these are the long bars that hold the wheels.
You’ll usually see:
- Single axles for light-duty work
- Tandem axles (two in a row) for medium loads
- Tri-axles for heavy-duty trailers
Each axle is clamped and welded into place using jigs that hold everything steady. Accuracy matters. A misaligned axle can ruin tire life or pull the trailer off-center.
Suspension Setup
Next, the suspension system is added. This controls how the trailer absorbs bumps.
Most trailers use:
- Mechanical spring suspension (simpler, more common)
- Air suspension (smoother ride, adjustable height)
Air tanks and valves are installed if it’s an air suspension model.
Brake System and Landing Gear
The brake system comes next. Workers connect brake chambers, pipes, and either ABS (Anti-lock Braking System) or EBS (Electronic Braking System).
Once that’s in, they install the landing gear—the two legs in front that support the trailer when it’s not attached to a truck.
This whole step needs care, speed, and teamwork. One wrong bolt or misaligned axle can lead to big trouble on the road.
Step# 5: Body Assembly & Structural Components
With the chassis and undercarriage ready, your trailer is finally starting to take shape. This step is all about building the body—floor, sides, ramps, and more. Everything you need to load, protect, and secure your cargo gets added here.
It’s a busy stage with a lot of moving parts. Here’s how it works.
Floor Installation (Wood, Steel, or Aluminum)
Workers start by laying down cross-members—these are steel supports that hold the trailer floor. Once those are welded in place, they install the floor surface.
- Steel plates are cut and welded down for heavy-use trailers like flatbeds or dumps.
- Wood planks are bolted onto the frame for fence trailers or livestock use.
- Aluminum sheets are used when weight savings are important, like in cargo transport.
Each section is measured and checked to make sure the surface is strong, level, and tight.
Side Walls, Headboards, and Doors
If your trailer is a box or curtain-side, workers now build up the body.
- Side walls are mounted using steel or aluminum panels, then welded or bolted along the edges.
- A headboard is added at the front to protect cargo from shifting forward.
- Rear doors are installed last, fitted with hinges and locks. On curtain-side trailers, rails are added first, followed by the sliding curtain panels.
Each piece is fitted with care to make sure the frame stays square and secure.
Ramps, Hooks, and Stake Pockets
Flatbeds and lowbeds don’t have side walls, so the focus here is on load access and tie-down options.
- Ramps are attached to the back using hinges, then tested for movement and strength.
- Welders add hooks, stake pockets, and tie-down rails along the trailer edges.
- These features give you the anchor points needed to strap down machines, pipes, or pallets.
They’re small details—but critical to how your trailer performs on the job.
Reinforcements for Heavy Loads
For trailers made to carry extra weight, the team adds reinforcement plates in high-stress areas.
- Plates are welded under the floor, around axle mounts, or at the gooseneck.
- These double up the steel thickness and give added support where the frame needs it most.
Every reinforcement is based on your trailer’s load rating and intended use.
This stage is where your trailer starts to look and feel complete. The structure is built. The body is solid. And the trailer is almost ready for paint, wiring, and testing.
Step# 6: Electrical System & Lighting Installation
After the body is built, your trailer still needs power—especially for lights, brakes, and signals. That’s where the electrical system comes in.
This step is quiet compared to welding or frame building. But don’t let that fool you. A single wiring mistake can lead to big trouble on the road.
Wiring the Trailer
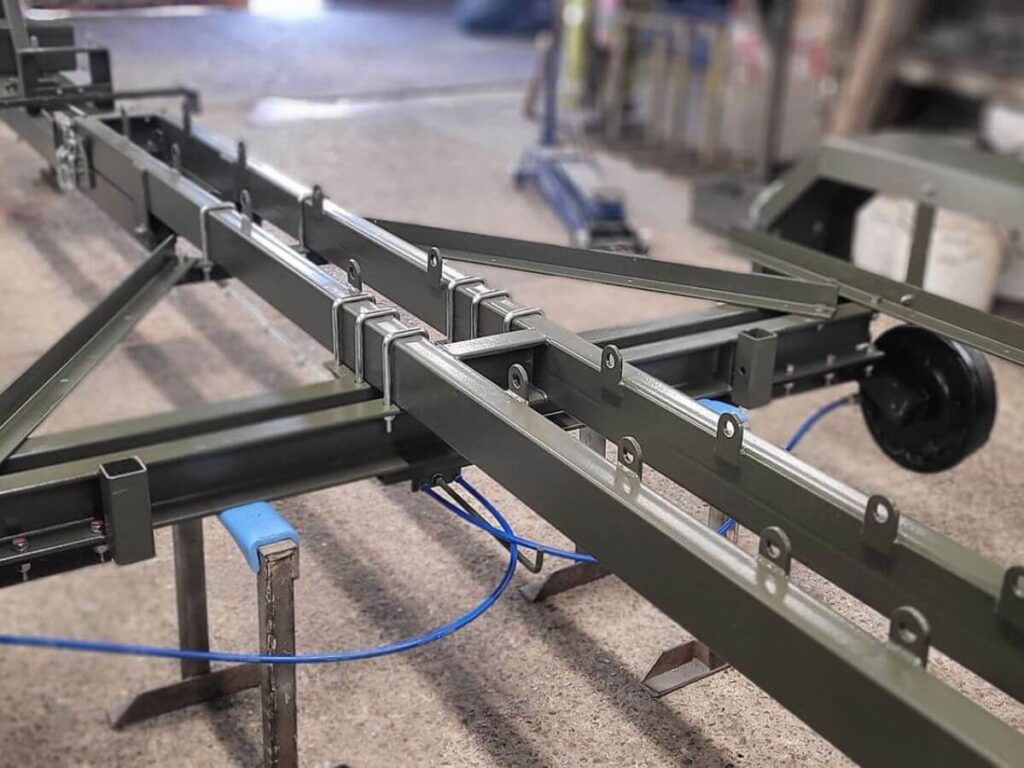
The first task is laying out the main wiring harness. This bundle of wires runs the full length of your trailer.
- Workers start at the front, where the trailer connects to your truck.
- Wires are pulled through steel tubes or plastic sleeves to keep them safe.
- They follow the frame, cross-members, and side rails.
- Every wire is color-coded based on function (brake, signal, tail, etc.).
Once laid out, the wires are secured using:
- Plastic clips
- Metal clamps
- Zip ties
This keeps the wiring from moving or getting damaged during transport.
Light and Signal Connections
After the wires are in place, the crew installs all lighting components:
- Brake lights at the rear
- Turn signals on both sides
- Tail lights for visibility
- Side marker lights spaced along the length
- License plate lights mounted near the rear bumper
Each light is tested after being connected. The team makes sure the signals work in the correct order—left turn, right turn, brakes, and hazards.
Plug and Power Source
At the front of the trailer, a 7-pin or 15-pin socket is installed.
- This is what connects the trailer to your truck’s electrical system.
- The socket is bolted to the bulkhead and wired into the harness.
- A power tester is plugged in to check voltage and signal function.
Every light is tested one by one to catch issues early.
Waterproofing and Dust Protection
Once the system works, the team protects every connection:
- Heat-shrink tubing seals exposed wire ends.
- Rubber grommets seal holes in the frame.
- Electrical tape and waterproof gel guard against moisture.
- Dust caps are added over key plugs and sockets.
Some manufacturers even spray a protective coating over the wiring to extend lifespan in wet or dirty environments.
Your trailer can’t leave the yard without lights that work. This step makes sure everything runs safely and reliably—before it ever hits the road.
Step# 7: Surface Treatment & Painting
Your trailer might be strong and well-built, but without surface treatment, it won’t last long. Rust, moisture, and road grime can break down even the best steel.
That’s why painting isn’t just for looks—it’s a key part of the manufacturing process.
This step protects the trailer for the long haul. It also gives it a clean, finished look that represents your business on the road.
Let’s go through how it works.
Sandblasting and Surface Prep
First, the trailer moves into the blasting room. This is where all the steel surfaces are cleaned using sandblasting.
- High-pressure machines shoot sand or steel grit at the frame.
- This removes oil, rust, welding residue, and dirt.
- It also roughens the surface slightly so paint will stick better.
You can hear the sharp hiss of the blast gun. Workers move slowly, making sure every inch is covered. No shortcuts here. A clean surface is key to a good finish.
One painter told me, “If we miss even one corner, the rust finds it.”
Primer and Anti-Corrosion Coating
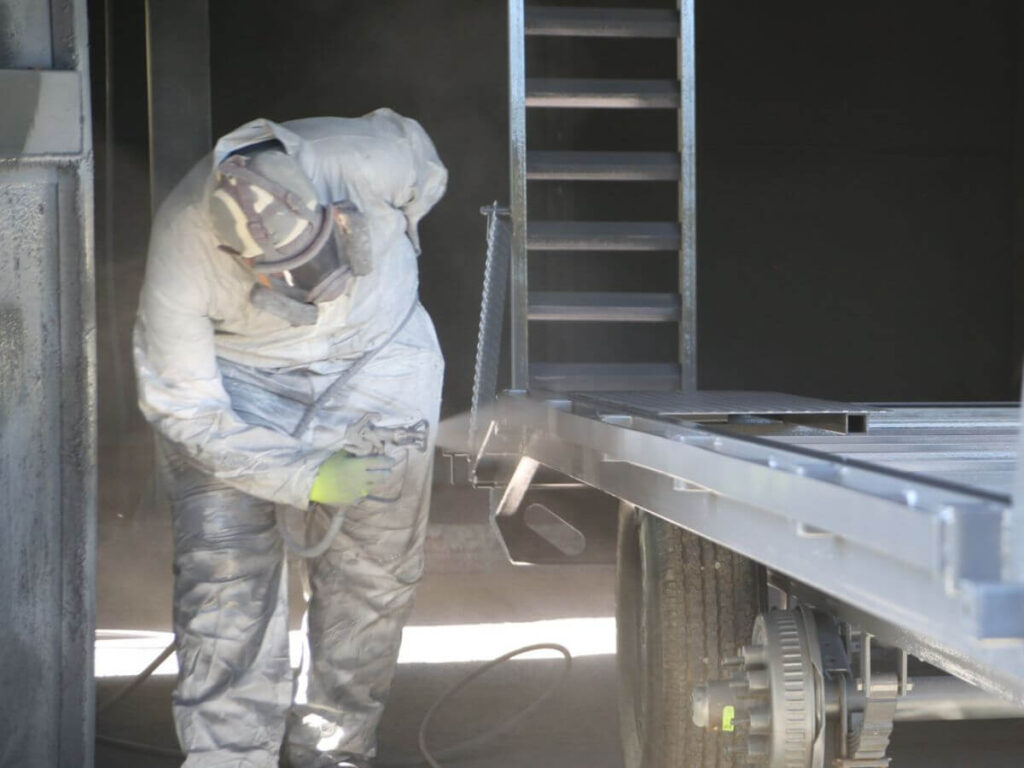
After blasting, the trailer moves to the paint booth.
- A primer coat is sprayed first. This is the base layer that helps paint stick.
- Then comes an anti-corrosion layer—a special paint that protects against rust.
- Each layer is sprayed evenly using air-pressure guns.
The crew works top to bottom, checking as they go. It’s fast, but careful. Missed spots are fixed right away
Final Painting and Branding
Now it’s time for the trailer to get its color.
- Workers spray on the final paint layer using multiple light coats.
- Factory logos, stripes, and custom branding (if requested) are added here.
You might hear one worker ask, “Is this one going red or blue?” as they double-check the order sheet.
Each trailer is painted based on customer needs—company colors, names, or even reflective strips.
Curing and Drying
Once the paint is on, the trailer moves to a drying bay.
- Large fans or heat lamps speed up the curing process.
- This helps the paint harden and resist chips or scratches.
- The trailer stays here until it’s fully dry—usually a few hours to overnight.
Painting isn’t just a final touch. It’s a shield that protects everything underneath.
Step# 8: Quality Control & Testing
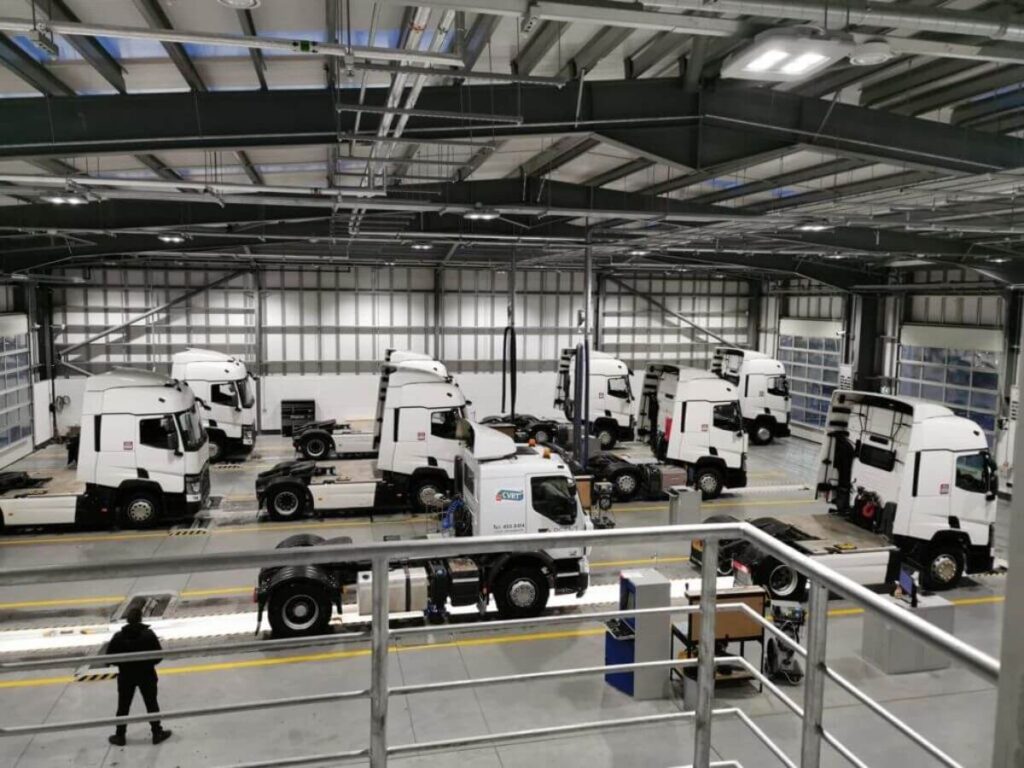
After weeks of building, painting, and assembly, your trailer looks ready. But before it can leave the factory, it has to pass one last step—quality control and testing.
This is where the trailer proves it can handle the real world. And believe me, this step is more than a quick once-over. It’s hands-on, loud, and full of movement.
One technician once said while checking a trailer, “We try to break it before the road does.”
Load Simulation & Structural Stress Testing
The first test checks how strong the frame is.
- Heavy weights are loaded on the trailer to simulate cargo.
- The floor, chassis, and suspension are all watched closely.
- Workers check for flexing, bending, or cracks as the trailer is put under pressure.
You might hear the metal creak. The trailer groans a bit—but it’s built to hold strong. If anything moves too much, it goes back for reinforcement.
Brake Performance Tests
Next comes the brake system. Every axle is tested.
- Air pressure is built up and released in short bursts.
- Workers listen for leaks, feel the drum responses, and watch for smooth action.
- If the trailer uses ABS or EBS, sensors are checked using diagnostic tools.
You’ll often see someone crouched by the wheel, listening closely, hands on the air lines, making sure every response is clean.
Lighting and Electrical Inspection
With the brakes cleared, it’s time to test the lights.
- Each signal—left, right, brake, and reverse—is checked.
- Side markers and license plate lights are tested, too.
- The wiring is also inspected for damage, loose ends, or water leaks.
Workers walk around the trailer with a power supply connected. They call out each function—“left signal,” “brake,” “tail”—and check if everything lights up right away.
Final Dimension Check
Before signing off, the trailer is measured.
- Total length, width, and height are confirmed.
- Axle spacing is checked using measuring tapes and digital tools.
- Ground clearance and wheel alignment are also verified.
Even one inch off can lead to trouble on the road or issues during registration. That’s why this step is done carefully, with 2 workers checking and confirming every number.
By the end of this stage, your trailer isn’t just built. It’s tested, measured, and road-ready.
Step# 9: Final Assembly & Detailing
This is the final stretch. After all the big parts are built and tested, your trailer enters the finishing zone.
It’s quieter here. No more sparks flying or machines grinding. Just focused hands, checking every last detail before the trailer leaves the factory.
You might think it’s just about adding accessories—but this step ties everything together.
Installing Final Components
Workers begin by adding the small but important parts:
- Reflectors are placed on the sides and rear for visibility.
- Mudguards are bolted above the wheels to stop road spray.
- Toolboxes are mounted onto the frame, usually near the landing gear.
- A spare wheel holder is fixed in place, often underneath or at the rear.
Each part is checked for fit, alignment, and tightness. You’ll see tools clinking, bolts tightening, and workers wiping surfaces clean as they go.
Connecting Hydraulic Systems
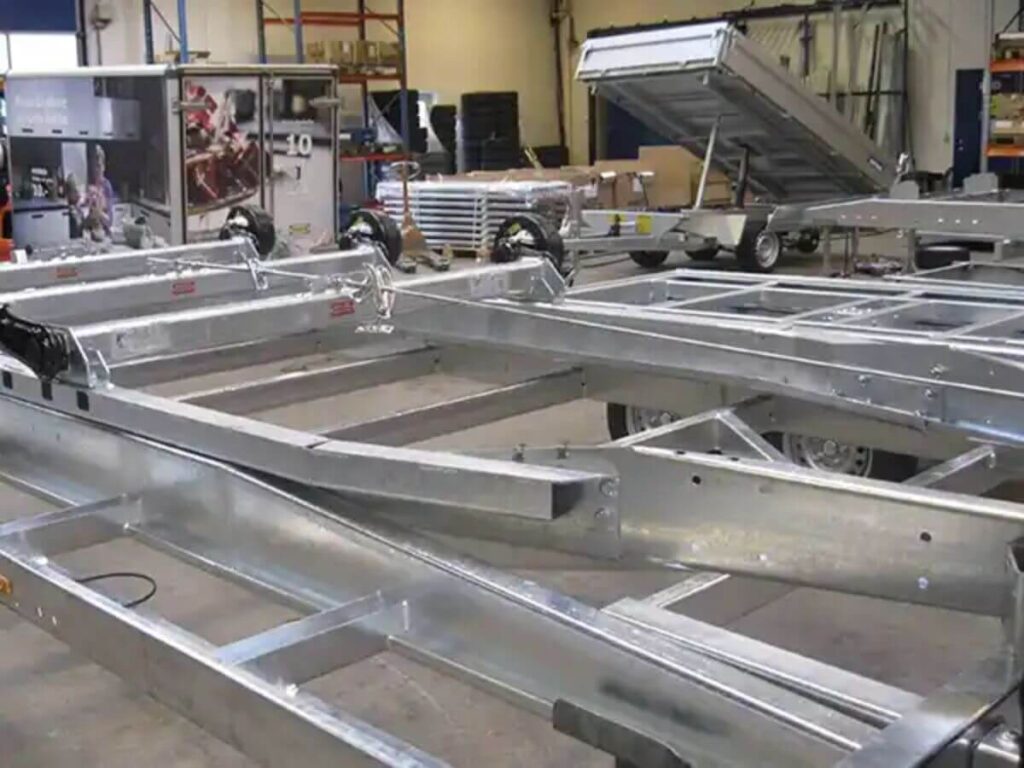
If your trailer has a moving part—like a tipper bed or rear ramp—it gets hooked up to a hydraulic system now.
- Hoses are connected to control valves and tested for leaks.
- The system is powered up to check pressure and movement.
- The trailer is tilted or lifted to make sure everything runs smoothly.
You might hear the hum of the hydraulic pump, then a deep whoosh as the ramp lowers or the bed rises.
Finishing Touches and Inspection
Now comes the polish.
- Workers wipe down surfaces, check paint for chips, and clean lights.
- Stickers and safety decals are added—weight limits, warnings, and brand labels.
- A final visual inspection is done by a senior technician, walking around the trailer slowly, clipboard in hand.
It’s the kind of careful work where even dust gets wiped off before sign-off.
Barcode or VIN Tagging
Every trailer needs to be identified.
At this stage, workers attach a VIN tag (Vehicle Identification Number) or barcode plate. It’s often welded or riveted to the frame near the front.
This code tracks the trailer for registration, service, and ownership.
Final assembly may be quiet, but it’s full of pride. Every piece tells a story—from raw steel to ready-for-delivery.
Conclusion
We’ve taken you through every step—from steel cutting to lighting, painting, and final checks.
Now you know each step it takes to build a reliable trailer—from design to the final bolt.
This guide wasn’t just about how trailers are made—it’s about helping you make smarter decisions.
Ready to choose a trailer supplier that stands behind their work?
Contact us today for more information.


